



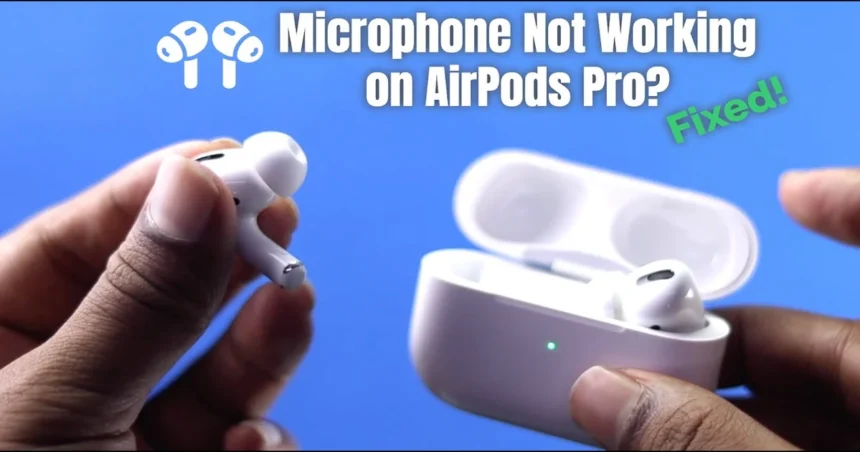
AirPods Pro 3 Microphone Not Working During Calls? Here’s How to Fix It
- Why the Mic Goes Silent in the First Place
- Clean the Microphone Mesh First
- Check the Microphone Setting on Your iPhone
- Make Sure Your AirPods Are Set as the Call Audio Device
- Charge Both AirPods Fully
- Forget and Re-Pair Your AirPods
- Restart Your iPhone
- Update Your iPhone and AirPods Firmware
- Reset Your AirPods to Factory Settings
- When It Actually Is a Hardware Problem
- The Short Version
→ How to Fix the “Device Unknown” Error on iPad Without Proof of Purchase
Few things are more frustrating than joining an important call, only to have the other person say they can’t hear you. If your AirPods Pro 3 microphone has stopped working during calls, you’re not alone, and the good news is that it’s almost never a hardware problem. Most of the time, the fix takes less than five minutes.
→ Pink Pointer Color Not Appearing in All Apps on MacBook Neo? Here’s How to Fix It
This guide walks you through the most effective solutions, starting with the simplest ones and working toward the more involved steps.
Why the Mic Goes Silent in the First Place
Before jumping into fixes, it helps to understand what’s actually going wrong. AirPods Pro 3 use tiny MEMS microphones tucked behind mesh grills at the bottom of each earbud. Those openings are small enough that earwax, dust, or pocket lint can block them without you even noticing. Beyond physical blockage, a weak Bluetooth connection, a software glitch, or even a low battery can all cause the microphone to drop out or underperform during calls.
The fixes below address each of these causes in order of how often they actually solve the problem.
Clean the Microphone Mesh First
This one gets overlooked constantly, and it’s responsible for more dead-mic situations than most people expect. Take a dry, soft-bristled brush (a clean toothbrush works fine) and gently brush the microphone mesh at the bottom of each earbud. Do not use water, compressed air at close range, or any sharp object. The goal is to dislodge debris without pushing it further into the mesh.
After cleaning, test a call. If your voice comes through clearly, you’ve found the culprit.
Check the Microphone Setting on Your iPhone
Your iPhone has a setting that controls which AirPod handles the microphone. If it’s set to a specific earbud and that one has an issue, the mic will appear to stop working entirely.
To check this:
- – Open Settings on your iPhone
- – Tap Bluetooth, then tap the info icon next to your AirPods Pro 3
- – Tap Microphone
- – Make sure it’s set to Automatically Switch AirPods, not locked to the left or right
Switching to automatic lets your iPhone pick whichever earbud has the better signal, which often resolves intermittent mic failures on calls.
Make Sure Your AirPods Are Set as the Call Audio Device
Sometimes your iPhone routes call audio through the earbuds but keeps the microphone on the phone’s built-in mic. During an active call, tap the audio icon and confirm that AirPods Pro 3 is selected as the output and input source. This is a quick check that’s easy to miss.
Charge Both AirPods Fully
When battery levels drop low, AirPods can deprioritize microphone input to preserve playback. Put both earbuds back in the case, charge them to 100 percent, and test the mic again. It’s a simple step, but it genuinely makes a difference.
Forget and Re-Pair Your AirPods
A corrupted Bluetooth pairing is one of the more common causes of microphone problems that appear suddenly. Here’s how to reset the connection:
- – Go to Settings > Bluetooth and tap the info icon next to your AirPods Pro 3
- – Tap Forget This Device and confirm
- – Put your AirPods back in the case, close the lid, and wait 30 seconds
- – Open the lid near your iPhone and follow the on-screen pairing prompt
Once re-paired, make a test call. This clears out any corrupted session data that might have been interfering with the mic.
Restart Your iPhone
It sounds basic because it is, but a simple restart clears temporary software states that can cause audio routing to behave oddly. Hold the side button and a volume button, slide to power off, wait 30 seconds, and turn it back on. Reconnect your AirPods and test the call.
Update Your iPhone and AirPods Firmware
Outdated firmware can introduce audio bugs, including microphone failures. Your iPhone updates automatically in most cases, but it’s worth confirming.
For the iPhone, go to Settings > General > Software Update.
AirPods firmware updates happen automatically when the earbuds are in the case, connected to power, and within range of your paired iPhone. You can check the current firmware version by going to Settings > Bluetooth, tapping the info icon next to your AirPods, and scrolling to the About section. If it looks outdated, leave the case open near your phone overnight and the update should install on its own.
Reset Your AirPods to Factory Settings
If nothing above has worked, a full factory reset is the next step. This wipes all stored settings and starts fresh.
- – Place both AirPods in the case and close the lid
- – Wait 30 seconds, then open the lid
- – Press and hold the button on the back of the case for about 15 seconds until the status light flashes amber, then white
- – Re-pair the AirPods with your iPhone
Test the microphone on a call after this. Most persistent software-related mic issues don’t survive a factory reset.
When It Actually Is a Hardware Problem
If you’ve worked through every step above and the microphone still isn’t picking up your voice during calls, there’s a real chance the mic mesh or internal component is physically damaged. At that point, the right move is to contact Apple Support or visit an Apple Store. AirPods Pro 3 covered under AppleCare+ may qualify for a replacement at no cost or a reduced fee depending on the nature of the damage. You can start a support request at support.apple.com.
The Short Version
Most AirPods Pro 3 microphone problems during calls come down to one of four things: blocked mesh, a wrong microphone setting, a Bluetooth glitch, or a software bug. Clean the mesh, check your mic settings, re-pair the earbuds, and reset if needed. That sequence resolves the issue for the vast majority of users without any trip to a store or a hardware replacement.
Relevant posts
- How to Disable Writing Tools in iOS 18 (And What to Do If You’re on a Beta)
- How to Get iOS 27 on iPhone 15: A Step-by-Step Guide
- iOS 26 Update Stuck on “Update Requested”? Here’s How to Fix It
Visit consideringapple.com for more stories.