Imagine you need to scan the documents or image deeply but don’t have the magnifying glass? Worry not, as we have good news for iPhone users. Access the magnifier on your Apple smartphone and turn a phone into magnifying glass in no time and get a closer look at things without carrying any additional device.
Looking forward to enjoying this facility? Continue scrolling the page and find out different ways to use this awesome feature on your iPhone with ease.
How Does Magnifying Glass Make Things Look Bigger?
Magnifying glasses magnify objects by refracting or bending visible light to concentrate or join together through their convex lenses (convex implies curled outward). Magnifying glasses, in effect, deceive your sight into seeing something that isn’t there. The purest term of a basic telescope is a magnifying glass.
When the glass gets put up to an item, it expands it using a single magnified image. Historians think the first magnifying lens was invented in 1021 by Alhazen. Due to geometric considerations, the virtual image on your retinas appears to be larger than the real thing. Despite the magnifying glass, your eyes track the light rays back to the virtual image in parallel lines. Because the virtual picture is farther away from your eyes than the object, it appears to be huge!
Light rays move straight to one other as they reflect off an element and reach your sight. The convex lens twists the parallel rays so that they merge and generate a digital model on your eyes’ retinas when they go through a magnifying glass.
What options does Magnifier Offer?
Here’re some of the interesting options offered by a Magnifier. Let’s have a look at a few of them.
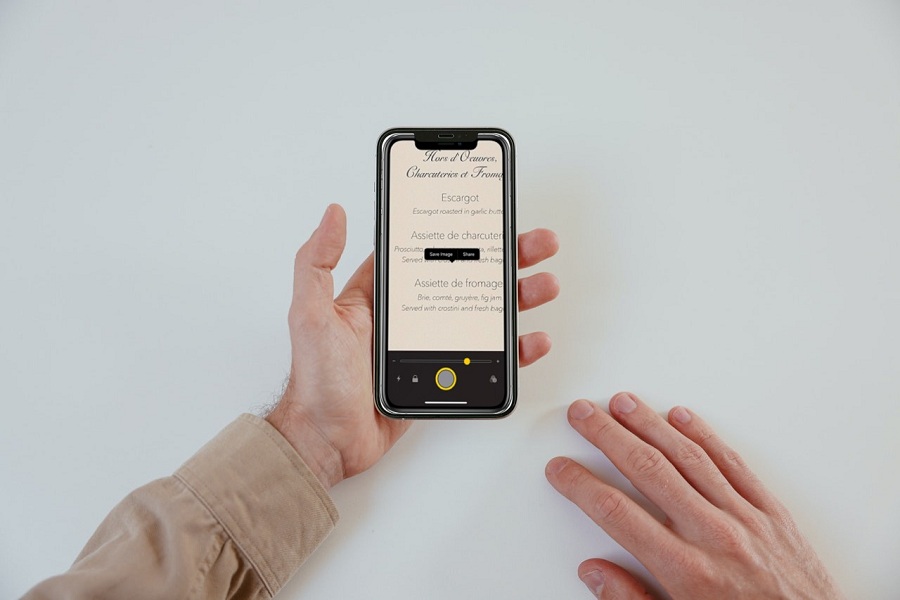
- A short picture will be taken and frozen on your display by pressing the white icon in the center. To remove the freeze-frame, press this arrow one more.
- To switch on your flashlight, click the lightning bolt symbol on the left.
- The slider can be used for zooming in and zooming out the object or picture.
- The lock symbol prevents the camera from auto-focusing and keeps it fixed.
- To apply a filter to your camera or modify the color and intensity, press the three overlapping circles.
Steps to Enable The Magnifier App in iPhone?
Follow the steps mentioned below to enable the magnifier app in iPhone. Once you are done with enabling the magnifier, use it appropriately. To use it, simply triple-press the Side button or Control buttons (if your iPhone has one) once it has to get activated.
If you have numerous accessibility choices activated, you might want to choose Magnifier. The Magnifier can also get used as a separate app beginning with iOS 14 and beyond.
- From your Home screen, go to Settings.
- Navigate to Accessibility and select it.
- Toggle Magnifier on and off.
- Next to Magnifier, press the button, and you are done.
How to take a Freeze Frame in Magnifier?
Do you know that Magnifier on your iPhone can freeze the frames as well? Carry out the steps mentioned below to get the job done right.
- Open the Magnifier application and triple-press the Back or Home controls.
- At the bottom middle of the picture, click the Freeze Frame option. It resembles the camera shutter button and is a giant circle with a smaller group inside it.
- You can change magnification on this frozen clip by dragging the scale bar or using other Magnifier features.
- Revert the active Magnifier by tapping the Freeze Frame icon (now with an “X”).
Can you change the filter in Magnifier App? If yes, How?
Yes, absolutely. You can easily change the filters by using the Magnifier App in just a few steps. The common filters available are:
- Grayscale
- Red on Black
- Yellow on Black
- Yellow on Blue
- White on Blue
- Inverted
- Inverted Grayscale
- Black on Red
- Black on Yellow
- Blue on Yellow
- Blue on White
The steps to change the filter in the magnifier are given below.
- At first, triple-press the Side or Home controls to launch the magnifier on your iPhone.
- Select Filter from the drop-down menu. Three circles appear to be crossing.
- Choose your desired filter and the job is done.
Conclusion
The Magnifier is a visual accessibility function that converts your iPad or iPhone into a magnifying glass in no time. Anyone with limited vision will find it easier to read newspapers, menus, switch labels, and instructions as of this. Magnifier got previously confined to only the rear-facing camera, but now you may freely swap between the two.
That’s it for now!! Use the steps listed above and use magnifier app on your smartphone easily.