
Are you a Mac owner but occasionally want to play some Windows games? We all know that Apple has a tight security policy, and because of that, we cannot just install anything we want. Fortunately, I have the perfect solution: you can use a Windows emulator! This would give you the ultimate cross-platform power by enabling you to run Windows applications on your Mac. I will walk you through downloading and utilizing a Windows emulator on your Mac in this blog post. Whether you’re a pro at coding, an expert at gaming, or just interested in what Windows has to offer, we’ll open a whole new world of opportunities. Let’s get started!
What is a Windows emulator for Mac?
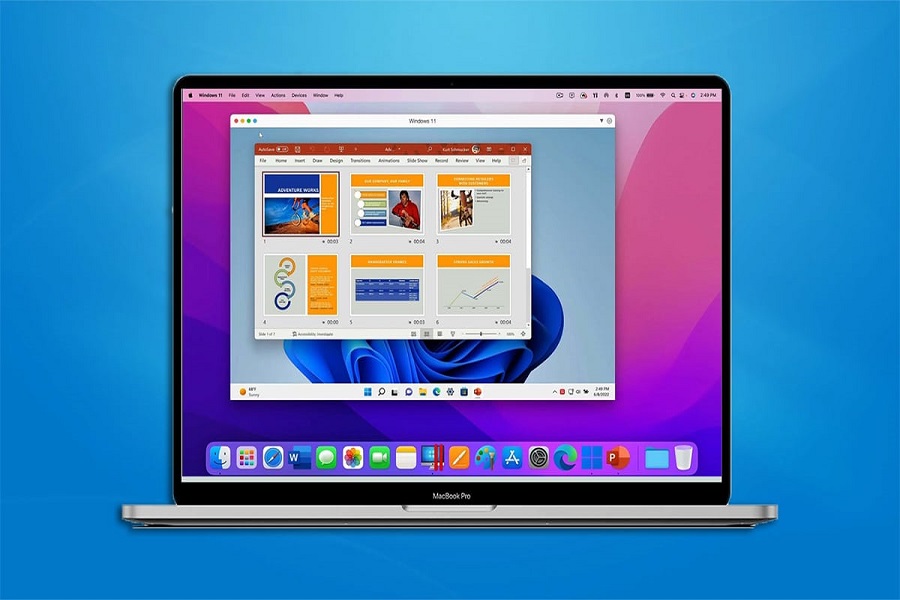
A Mac software program, a Windows emulator, enables you to set up a simulated Windows environment. You can run Windows programs, games, and applications on your Mac without installing a separate Windows operating system.
What are the system requirements for running a Windows emulator on a Mac?
Depending on the emulator program you use, the system requirements for operating a Windows emulator on a Mac can change. A Mac computer with a current operating system, a quick CPU, and lots of memory and storage is typically required.
How to download and use a Windows emulator for Mac?
To download and use a Windows emulator for Mac, follow these steps:
- Choose a Windows emulator: Some popular options include Boot Camp, VirtualBox, WineSkin, WineBottler, Wine, Parallels Desktop, and VMWare Fusion. Each emulator has its own features and requirements, so choose the one that best suits your needs.
- Download the emulator: Visit the official website or a trusted third-party website to download the emulator. For example, Boot Camp comes built-in with Intel-based Macs, while WineSkin can be downloaded from third-party websites.
- Install the emulator: Follow the installation instructions provided by the emulator’s website or documentation. For instance, with Boot Camp, you can use the Boot Camp Assistant found in the Utilities section of the Applications folder on your Mac.
- Set up a Windows partition (if required): Some emulators, like Boot Camp, require you to set up a Windows partition on your Mac’s hard disk before installing Windows. Follow the instructions provided by the emulator to create the partition.
- Install Windows: If the emulator requires a full Windows installation, download the Windows 10 ISO file from the Microsoft website and follow the installation instructions provided by the emulator.
- Install Windows apps: Once the emulator is set up and Windows is installed (if required), you can start installing and using Windows apps on your Mac.
FAQs
Which Windows emulator should I choose for my Mac?
Several Windows emulators are available for Mac, such as Parallels Desktop, VMware Fusion, and VirtualBox. The choice depends on your specific needs, compatibility requirements, and budget. It’s recommended to research each emulator’s features, user reviews, and system requirements before deciding.
Is it legal to use a Windows emulator on a Mac?
Yes, it is legal to use a Windows emulator on a Mac as long as you have a valid Windows license to install on the emulator. Emulators themselves do not provide Windows licenses, so you need to obtain a license separately from Microsoft or authorized resellers.
Can I run all Windows applications on a Mac using an emulator?
On a Mac, not all Windows programs will run under a Windows emulator. Some programs could need particular hardware or software setups that the emulator cannot reproduce, while others might just not work with the emulator’s interface.
Until next time, with another topic. Till then, Toodles.