

If you want to transfer all your photos from your iPhone to your Windows PC for future safekeeping, there are multiple ways of doing that. Knowing about the easy transfer process makes it easier for you to save all your photos on your laptop or desktop while freeing up storage in your iPhone.
However, if you are new to using either one of the devices, not knowing how to make a successful transfer of the photos is fairly simple. There’s not much you have to do actually.
This article will explore all the top ways you can transfer photos from your iPhone to your Windows 10 PC in no time at all.
How To Transfer Photos from iPhone to PC Windows 10?
Using File Explorer
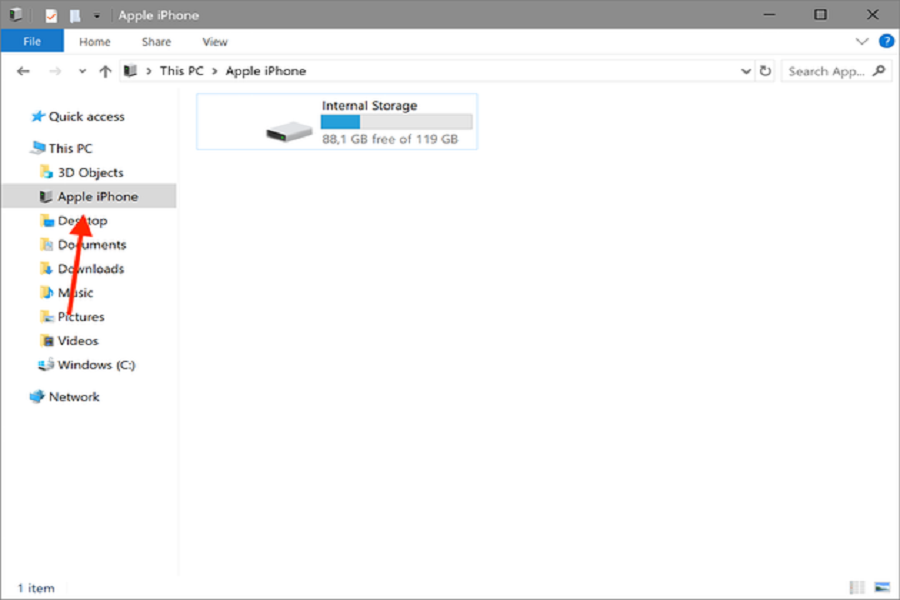
If you want to transfer your files from your iPhone to your Windows PC, the first thing you have to do is download iTunes on your Windows PC. The reason why iTunes is a must is that it ensures easy detection, especially when connected via a USB.
So, with iTunes in the Windows PC and your iPhone connected to the device via a USB cable, the next thing you have to do is follow the steps mentioned:
- Plug the iPhone into your PC via a USB cable
- Open Windows Explorer from the Start menu or press the Window key + E for a shortcut
- Tap on the “>” arrow under This PC
- Under the sub-menu, tap on the iPhone that’s connected
- Click and open the Internal Storage
- Go and open DCIM
- Double-click on any folder from which you wish to transfer the photos
- You can copy the entire folder to your desktop or save the selected images from the folder
- Once you are sure, select the destination where you wish to paste the images and type Ctrl+V or right-click and Paste.
Once done, you can eject your iPhone from the PC and all your images are saved from your iPhone to the Windows PC.
Windows 10 Photos App
If the above method seems too complicated for you, the next method is using the Photos App. The steps are as follows:
- Plug your iPhone into the Windows PC using a USB cable
- Open the Photos app from the Start menu
- Tap on Import
- Select the photos you wish to import from the plugged iPhone
- Once selected, click Continue
And, once the import process starts, you have to wait for some time until all the photos are imported before you can take out the iPhone from your computer.
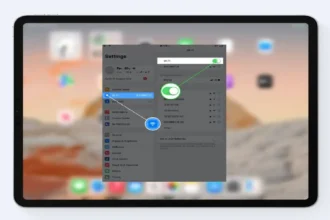
Using iCloud
If you save your iPhone photos in iCloud, you can directly access them via iCloud that’s available on the Microsoft PC. It’s simple and all you have to do is follow the steps mentioned:
- Open Microsoft Store on your desktop
- Search for iCloud in the search bar
- Tap on “get” and download iCloud to your Windows PC
- Once done, launch the app
- Sign in using your Apple ID and password
You can then access all the images you wish to download and save to your PC directly from there.
Conclusion
That’s all you need to know about transferring your photos from your iPhone to Windows 10 PC. If you were confused beforehand, we hope this article gives you all the potential insights you are looking for.