As bloggers and working for the marketing team, I often use reverse image search to find out the actual legitimacy of the image before I use it for the marketing campaign. Currently, there is no official feature on iPhone to do reverse image searches.
People are using Google Image desktop UI on iPhone to do reverse images search. While exploring some Siri shortcuts on iOS 14, I land on the reverse image search iPhone shortcut. I was not aware of this feature before, but it was a huge surprise and productive. The significant thing about this shortcut is that it takes only a couple of clicks to get the result. I am excited to share the process of using the Reverse image Search Shortcut on iPhone.
See More: Best TikTok Watermark Remover Shortcut For iPhone
How To Add Reverse image Search iPhone Shortcut iOS 16/ iOS 15/iOS 14
Note: Image format must be in JPG, PNG, or Google compatible format.
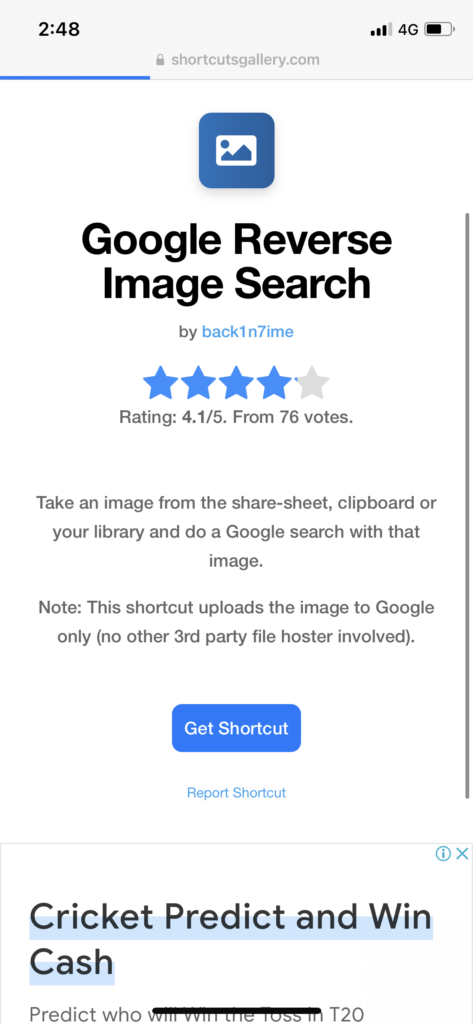
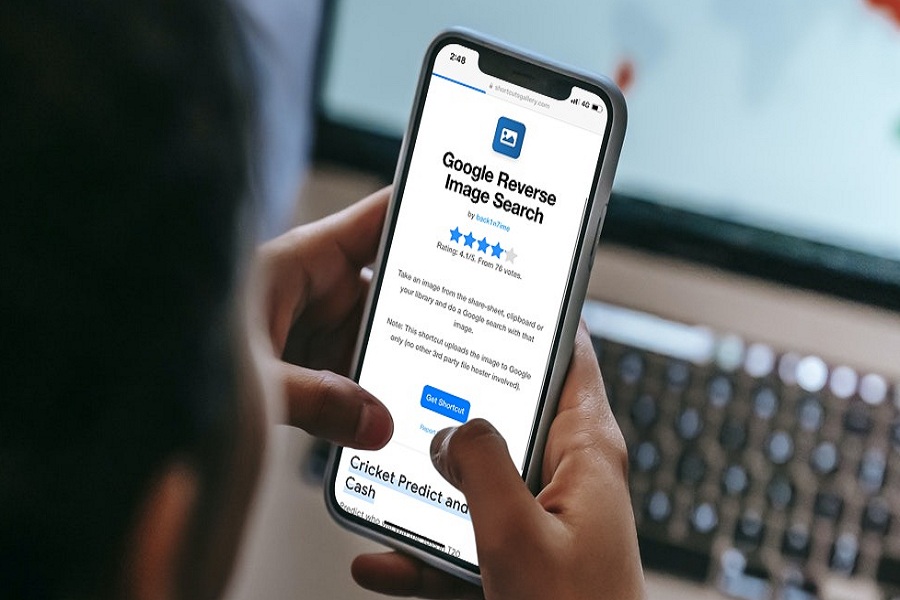
- Open Google Reverse Image Search Shortcut on any browser.
- Tap on Get Shortcut.
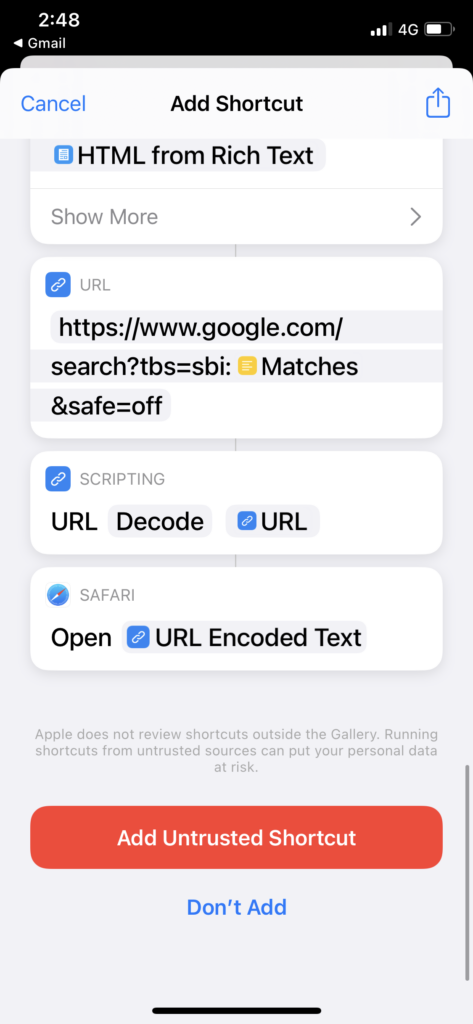
- Scroll down to ‘Add Untrusted Shortcut’ and tap on it.
- Once it is added to the Shortcuts app, launch the shortcut from the Shortcut app home page.
- Tap Allow to grand person and again Allow to access google.com permission to send data.
- Now select the image from the Photos app, and it will take you to the Google Image search result with the authenticity of the image.


That’s it.
Was it easy and quick?
Yes, it was so straightforward for me as I don’t have to use any third-party app or any other hack to do a reverse image search on Google image search.
Even the process of adding reverse image search shortcuts on the iPhone is fast and straightforward. Even non-Apple users can do it with a few taps. What do you say?
Have you tried the above shortcut on your iPhone to do a reverse image search? How was your experience? Do you think Apple should add this feature to the Safari browser? Please share your feedback in the comment box.


