iOS 16 has made its way into the market, and there are still many unexplored features waiting to be discovered. While we are familiar with the prominent features and how to customize them according to our preferences, there are some lesser-known features that deserve attention. These seemingly minor features play a significant role in enhancing our experience with the iPhone device, just like the major ones. One such overlooked feature is the ability to turn a picture into a sticker on iOS 16.
Although Apple hasn’t provided an explicit feature to convert images into stickers, there is a simple method to achieve this. By utilizing the Visual Look Up feature, which enables photo cutouts, you can now easily separate the subject from any image and remove the background entirely. But what can you do once you have removed the subject from the image? You can use it as a sticker and effortlessly share it with your friends, family, or any group, as you desire.
How to make a picture sticker on iOS 16?
With the visual look up feature on iOS 16, you can easily make a picture into a sticker. There are 2 ways to do it, either you do it manually with the help of a files app that comes pre installed on your device, or you can install a drop sticker; a third party application to convert your pictures into stickers.
Method 1: Using file app
- Open the photos app on your iPhone.
- Choose your desired image.
- Long press on the subject of the image.
- Click on the share icon.
- Select Save to Files option.
- Tap on the save option after selecting the location where you want to save the sticker.
- Open the files app and locate the photos you just saved.
- Long press on the photo until you see the popup.
- Click on Quick Actions.
- Tap on Remove Background.
Note that the images that are converted into stickers will be shared as an image in other applications. And you may share it as a sticker on iMessage.
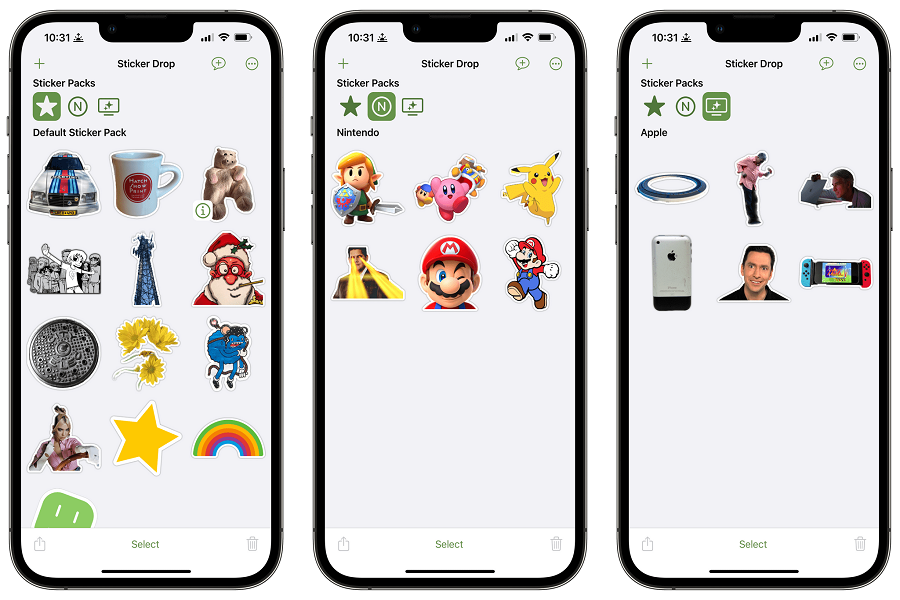
Method 2: Using Drop Sticker
- Install a drop sticker on your iPhone.
- Launch the application and click on the Continue option.
- Now open the photos application.
- Choose the desired photo that you want to convert into the sticker.
- Long press on the subject until it is selected and then drag it across the screen to make a cut out and separate it from the background.
- Do not let go of the selected cutout, and by using another finger open the Drop sticker app.
- Drop your selected image in the pop up given on the screen.
- By doing so a sticker of your selected subject will automatically be created.
- You may even customize the sticker by adding text, border, or colors to it as per your wish by simply clicking on the sticker.
Conclusion
while major features often steal the spotlight, it’s important not to overlook the lesser-known features that can significantly enhance our experience with iPhone devices. One such feature is the ability to turn a picture into a sticker on iOS 16.
Although Apple doesn’t provide an explicit feature for converting images into stickers, you can utilize the Visual Look Up feature to easily separate the subject from any image and remove the background. Once you have the subject isolated, you can use it as a sticker and share it effortlessly with others.
There are two methods to make a picture sticker on iOS 16. The first method involves using the Files app and manually saving and removing the background of the image. The second method is to use a third-party application called Drop Sticker, which allows you to create stickers by cutting out the subject from your chosen photo.
Whether you choose the manual method or prefer using a dedicated app, you can personalize your stickers by adding text, borders, or colors. These custom stickers can then be shared with friends, family, or groups through various messaging platforms, such as iMessage.
So, don’t overlook the hidden gems of iOS 16, and have fun creating and sharing your own personalized stickers to enhance your messaging experience on your iPhone.
Until next time, with another topic. Till then, Toodles.