


TeamViewer is a popular remote access and support software that allows you to access, control, and collaborate across devices from anywhere. With over 2.5 billion installations across platforms, TeamViewer works great for both personal and business use.
Here’s everything you need to know to install and use TeamViewer on your iPhone, iPad, or iPod Touch running iOS.
How to Install TeamViewer on iOS
The first step is to install the TeamViewer app on your iOS device. Here is how to do it:
- Open the App Store on your iOS device
- Search for “TeamViewer”
- Tap on the “TeamViewer QuickSupport” app
- Tap on the “Get” button to download and install the app
TeamViewer is now installed on your iOS device.
How to Set Up TeamViewer on iOS
Before you can start using TeamViewer for remote access and support, you need to set it up properly:
Get Your TeamViewer ID
Your TeamViewer ID uniquely identifies your device and is needed by others to connect to your device.
To find your TeamViewer ID on iOS:
- Open the TeamViewer app
- Your ID is clearly labeled as “Your ID” under the “Remote Support” section
Share this ID with anyone you want to allow remote access to your device.
Enable Access Rights
You need to enable access rights in iOS to allow TeamViewer to function properly:
- Go to Settings => Control Center => Customize Controls
- Under “More Controls”, tap the green + icon next to Screen Recording
- This adds Screen Recording to your Control Center
Now TeamViewer can request permission to record and access your screen for screen sharing.
How to TeamViewer for Remote Support
Once set up, you can start using TeamViewer on your iPhone, iPad, or iPod Touch to provide or receive remote support. Here are some of the main features:
Offer Remote Support
To provide remote support to others from your iOS device:
- Ask the other person to share their TeamViewer ID with you
- Open TeamViewer on your iOS device
- Enter their ID under “Provide Remote Support”
- Tap Connect and follow the on-screen prompts
You can now view and control their screen to provide remote support.
Receive Remote Support
- To receive remote support on your iOS device from a technician:
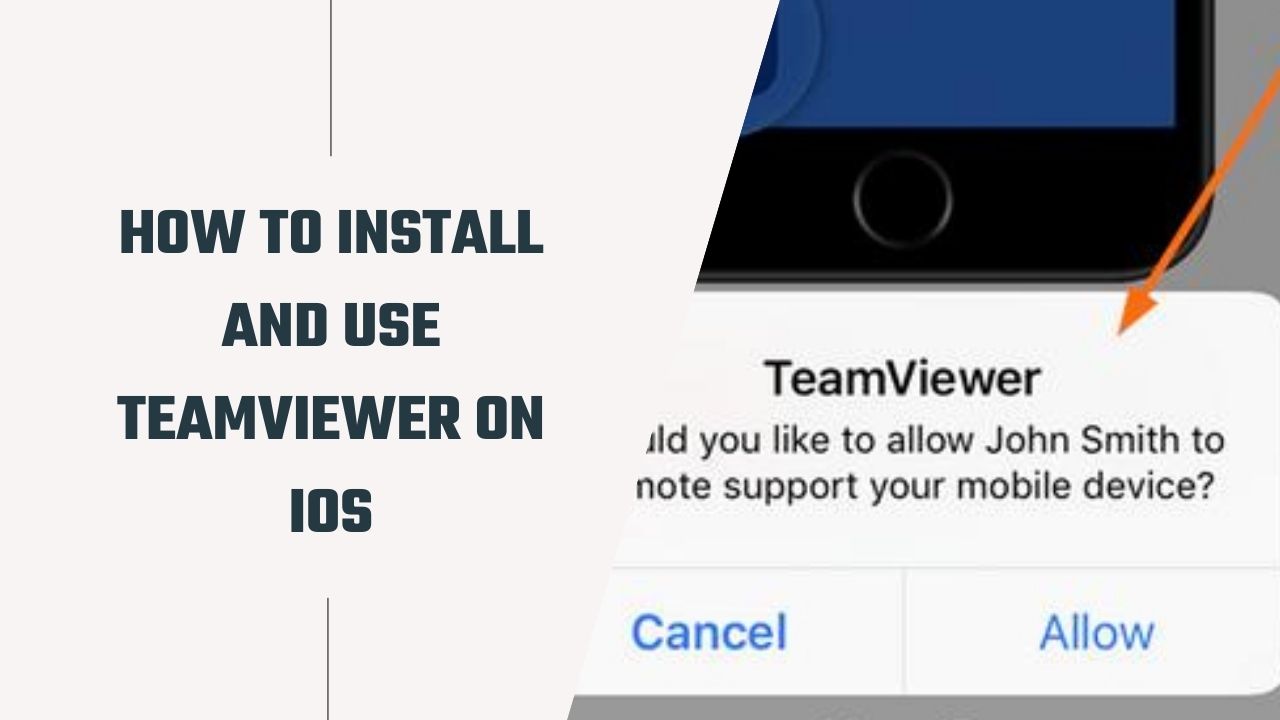
- Open TeamViewer and share your ID with the technician
- Wait for their incoming connection request
- Tap “Allow” on the prompt to permit access to your screen
- The technician can now view and control your iOS device remotely to provide support
Additional Features
TeamViewer on iOS also offers additional useful features including:
- File transfer between devices
- Voice and video chat
- Virtual whiteboard for collaborating
- Remote view of system information
- Wireless network configuration
- Pushing iOS profiles
- And much more
So, as you can see, TeamViewer is extremely versatile for remote tech support scenarios for your iPhone, iPad, and iPod Touch.
Conclusion
TeamViewer is a hugely popular remote management solution that works across platforms, including iOS. With screen sharing, file transfer, system diagnostics, and a host of other features, TeamViewer enables you to provide flexible tech support and collaboration.