

If you are one of those people that likes to prioritize their privacy when it comes to using their browser and checking things out on the internet, you are in the right place. Safari has something known as Private Browsing, which is here to streamline your user experience for the better.
Not only does it keep your browsing history private, but it also protects your online identity against an unnecessary threat that you might often complain about. With this feature, you can safely browse the internet without needing to worry about anything at all.
This article will explore the top tips you need to keep in mind when it comes to private browsing on iPhone in iOS 16.
Is it Necessary to Enable Private browsing?
Nothing is mandatory when it comes to using a browser on your iPhone. At the end of the day, it comes down to personal preferences and choices. If you are considering introducing a shift to your browsing experience and want to keep things private and not logged, we’d recommend enabling private browsing.
The feature that’s available on iPhone’s Safari is a lot similar to Google Chrome’s Incognito mode where you can browse the internet without worrying about the browser saving your history.
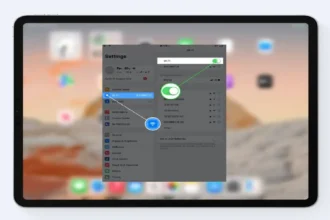
Ways to Enable Private Browsing on iOS 16
As we mentioned, the private browsing feature for iOS 16 is available for Safari. This means that once you enable the feature on your Safari browser, you should be good at browsing the internet without worrying about consequences.
Some of the top ways to enable private browsing on Safari include:
1. Quick method
If you are on the go and want to enable private browsing on Safari within a few seconds, this is the method you opt for.
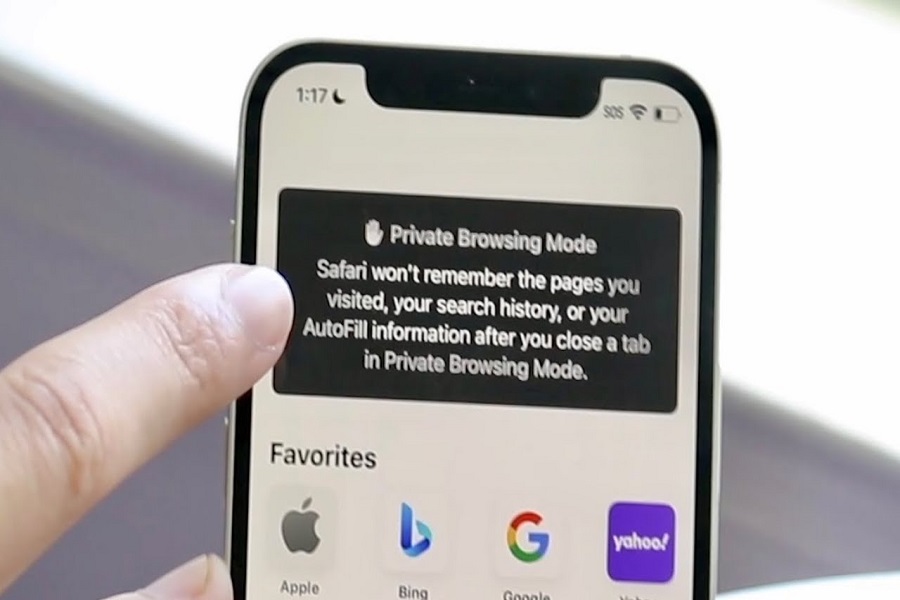
- Open Safari on your iPhone
- Touch and long-press the tabs icon that’s present at the bottom
- From the pop-up menu, click on “New Private Tab”
And, that’s it. From there, you can comfortably browse the internet without needing to worry about getting tracked or having your history saved in the browser.
2. Standard method
The standard method involves a few extra steps and is not something we’d personally recommend you follow through with if the quick method is working on your iOS 16 device.
- Launch Safari on your iPhone
- Tap on the tabs icon at the bottom
- Click on X Tab/s at the bottom again.
- Tap on “Private”
- Tap on the “+” button in the bottom-left corner
This will open a new Private browsing tab on Safari where you can go ahead and scroll through all the contents privately without needing to worry about anything at all.
Conclusion
Enabling Private browsing on Safari is a quick way to have a protected browsing experience without any compromise. If you are worried that something or the other will affect or negatively influence your browsing experience, we’d highly recommend that you give this a go. Also, start with the quick method first and only move to the standard method if necessary.