

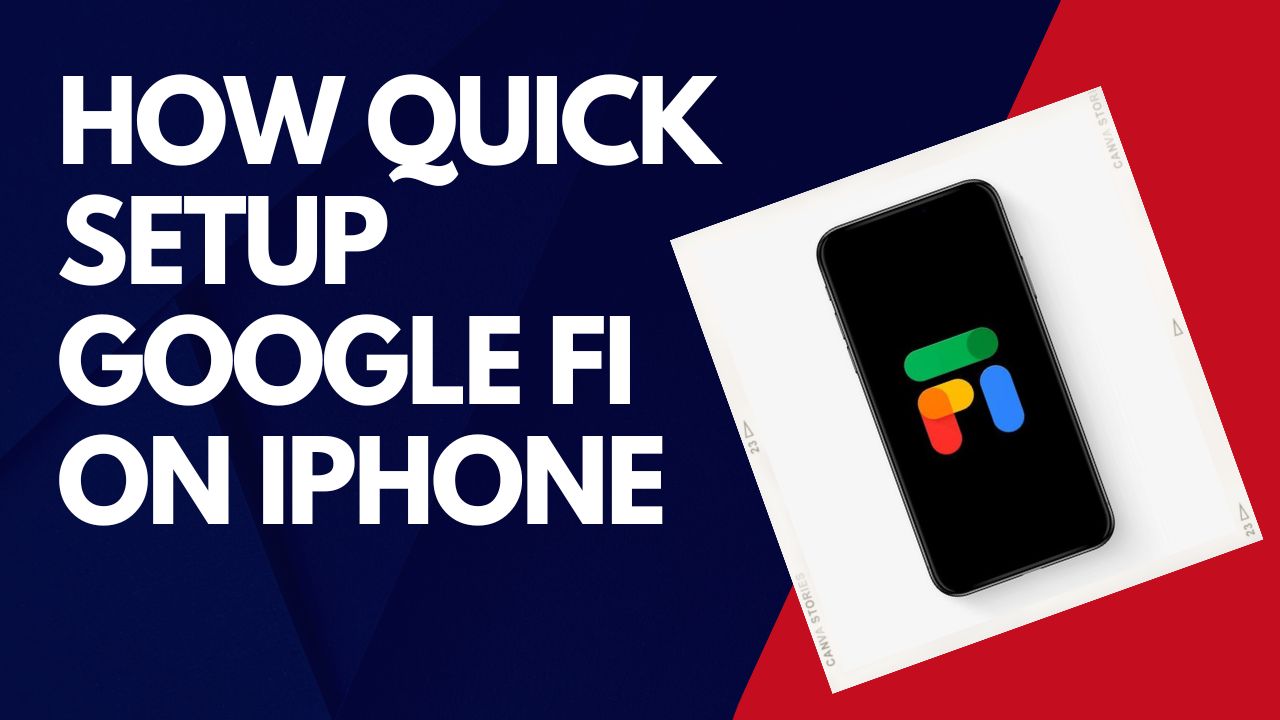
Google Fi provides an affordable and flexible cell phone plan that intelligently switches between networks for better coverage. While originally made for Android phones, Google Fi can now also be used with iPhones. Here is a quick guide to setting up and using Google Fi on your iOS device.
Checking Device Compatibility
The first step is making sure your iPhone model supports Google Fi. Currently, the service is compatible with iPhone SE (2020), XR, XS, 11, 12, 13 series and newer models. One limitation is that eSIM setup, which allows using the service without a physical SIM card, is only available on iPhone 14 and 15 models.
To check compatibility, you can use the eligibility tool on the Google Fi website by entering your iPhone model. Or simply download the Google Fi app, which will perform a compatibility check when you launch it.
How To Download Google Fi App
To get started with the setup process, you’ll need to download the Google Fi app from the iOS App Store. The app is free and optimized for iPhone screens and processes.
Once downloaded, open the Google Fi app and log into your Google account. If you don’t have an account yet, you can create one at this stage. The app will walk you through checking service compatibility for your device.
How To Activate eSIM to Google Fi
If you have an iPhone 14 or 15, you can use eSIM to activate Google Fi without needing a physical SIM card. First, connect your iPhone to a Wi-Fi network.
Then on another device, visit fi.google.com/ios/quicksetup. Here you’ll receive a QR code for scanning. Open the Cellular menu in Settings on your iPhone and select “Add Cellular Plan.” Use your camera to scan the QR code which will initiate eSIM activation.
How To Enter APN Settings
For other iPhone models, you’ll need to enter some network settings to enable full service capabilities:
- LTE Setup APN: h2g2
- MMS APN: h2g2
- MMSC: https://support.google.com/fi/answer/6205096?hl=en&co=GENIE.Platform%3DiOS
- MMS Max Message size: 23456789
- Personal Hotspot APN (optional): h2g2-t
You can find where to enter these details within the Cellular menu in Settings. The Google Fi app will also guide you through the process.
How To Setup in the App
After your cellular settings are configured, the Google Fi app will take you through the rest of the setup process. This includes:
- Activating your cellular plan
- Transferring or assigning a phone number
- Selecting preferences like data amounts and international coverage
Be sure to sign in with the same Google Account you used to sign up for Google Fi service. Once the setup is complete, your iPhone will be ready to use the network.
How To Connect to Google Fi
To ensure your iPhone uses the Google Fi network, you’ll need to take a couple steps:
In Settings, select Google Fi as your cellular data network and cellular service provider.
Within the Google Fi app, enable enhanced network features and allow the app to manage cellular settings.
After that, your iPhone should intelligently connect you to whichever network provides the best service. You can confirm your connection by checking for the Google Fi logo in your status bar.
With Google Fi set up on your iPhone, you can enjoy affordable talk, text, and data plus enhanced coverage domestically and internationally. The process takes just a few minutes and the intelligent network will optimize your connectivity. If you need more help for the same, don’t hesitate to share your feedback in the comment box.