


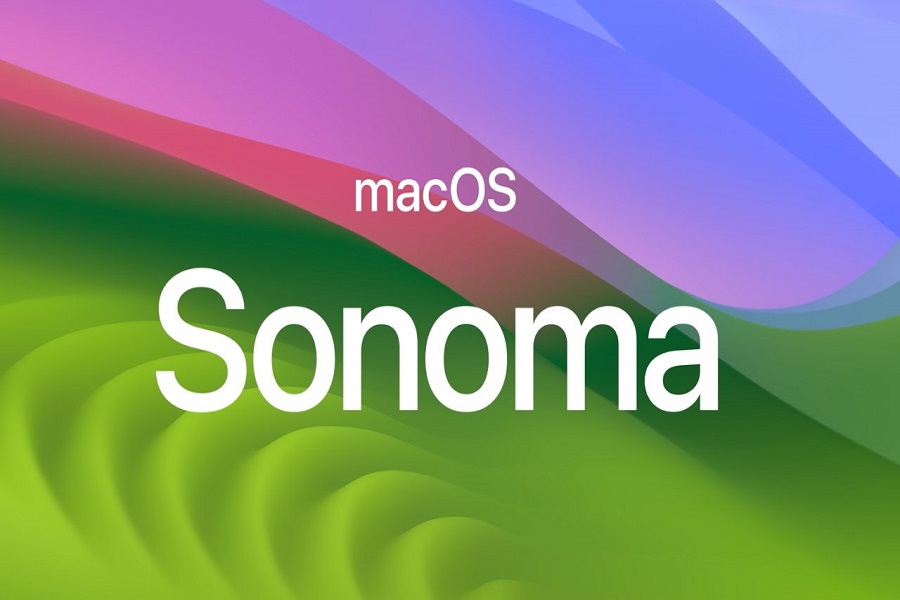
Did you see the WWDC event last night? It was amazing along with the introductions for newly power packed features. If you have seen the WWDC 2023 event, then I don’t need to explain what the new software updates are. Along with iOS 17, we also got to know about macOS Sonoma for Mac devices. And obviously the first thought that comes in our mind when we listen about the new software update is that when are we going to get it so that we can take advantage of the new features that comes along. I bet it would also be you first thought when you heard about macOS Sonoma. So here I am going to show how to download and install macOS Sonoma on your mac devices. Let’s get started!
See More: Download MacOS Sonoma Wallpapers 4K
Before we jump into the steps of downloading and installing there are few things that you should know just to be clear about it. Let us first take a look at some important considerations that you should keep in mind before installing macOS Sonoma.
- macOS Sonoma is still in beta testing and is available for developers only. Since it is still in beta version you can expect a lot of bugs and other issues that could affect the performance and stability of your device. therefore I suggest you to install it on your secondary devices to avoid problems on your main device.
- Before installing macOS Sonoma Developer Beta, it’s essential to back up all your important data. This will ensure that you have a copy of your files in case anything goes wrong during the installation process.
- You need to have an Apple Developer account to access the macOS Sonoma Developer Beta. If you don’t have one, you can create a free account on the Apple Developer website.
- Lastly you need to check that whether or not your device is compatible with this software update or not.
- iMac 2019 and later
- Mac Pro 2019 and later
- iMac Pro 2017
- Mac Studio 2022 and later
- MacBook Air 2018 and later
- Mac mini 2018 and later
- MacBook Pro 2018 and later
Now that you know everything that is needed to know we can proceed with the installation process.
How to download and install macOSSonoma?
Step 1: Visit the Developer Website
To download macOS Sonoma Developer Beta, you need to visit the official Apple Developer website. Follow these steps:
- Open Safari on your Mac.
- Go to developer.apple.com.
- Navigate to the Discover tab.
Step 2: Select macOS and Initiate the Download
Once you’re on the Discover tab, follow these instructions:
- Look for the macOS section and click on it.
- Locate the download button for macOS 14 Sonoma.
- Click on the Download button to initiate the download process.
Step 3: Log in with Your Developer Account
If you’re prompted to log in, use your developer account credentials. If you don’t have a developer account, you can create one for free on the Apple Developer website. Logging in is necessary to gain access to the developer resources and software downloads.
Step 4: Install the Developer Profile
After downloading the macOS Sonoma Developer Beta, you need to install the Developer Profile on your Mac. Follow these steps:
- Locate the downloaded file (usually saved in the Downloads folder).
- Double-click on the downloaded file to open it.
- Follow the on-screen instructions to install the Developer Profile.
Step 5: Begin the Installation Process
With the Developer Profile installed, you can now proceed to install macOS Sonoma Developer Beta. Here’s what you need to do:
- Once the Developer Profile installation is complete, you will be prompted to restart your Mac. Save any unsaved work and click on the Restart button.
- After your Mac restarts, go to the Apple menu and select “System Preferences.”
- In System Preferences, click on “Software Update.”
- You should see an update available for macOS Sonoma Developer Beta. Click on the “Upgrade Now” button to begin the installation process.
- Follow the on-screen instructions to complete the installation of macOS Sonoma Developer Beta.
Step 6: (Optional) – Install on a Separate Partition
If you want to install macOS Sonoma on a separate partition of your Mac, you can follow these additional steps:
- Before starting the installation process, ensure that you have enough free disk space to create a new partition.
- Open the Disk Utility application on your Mac.
- Select your main disk in the sidebar and click on the “+” button to create a new partition.
- Specify the size of the new partition and give it a name.
- Once the partition is created, you can select it as the destination during the installation process.
Note that only the developers version is available, the public beta will soon be released.
Until next time, with another topic. Till then, Toodles.