Unless you are very good at organizing photos in your gallery then you will agree that photo management on an iPhone may not be such a simple task especially if you are the kind of a person who likes taking photos all the time anywhere.
However, you do not need to be a pro to have a well-organized gallery. You can still do it with a few do-it-yourself tricks. Which is why we bring to you this guide today.
To organize photos on an iPhone without duplicates, you only need your iPhone with the photos you previously took. And this guide of course! You may also need an iPhone cleaning app just in case you need to remove clutter by cleaning up duplicates. Let’s begin by looking at the photo’s app interface.
Read: Should You Turn Off the “Discoverable by Others” iPhone setting?
The Photos App Interface
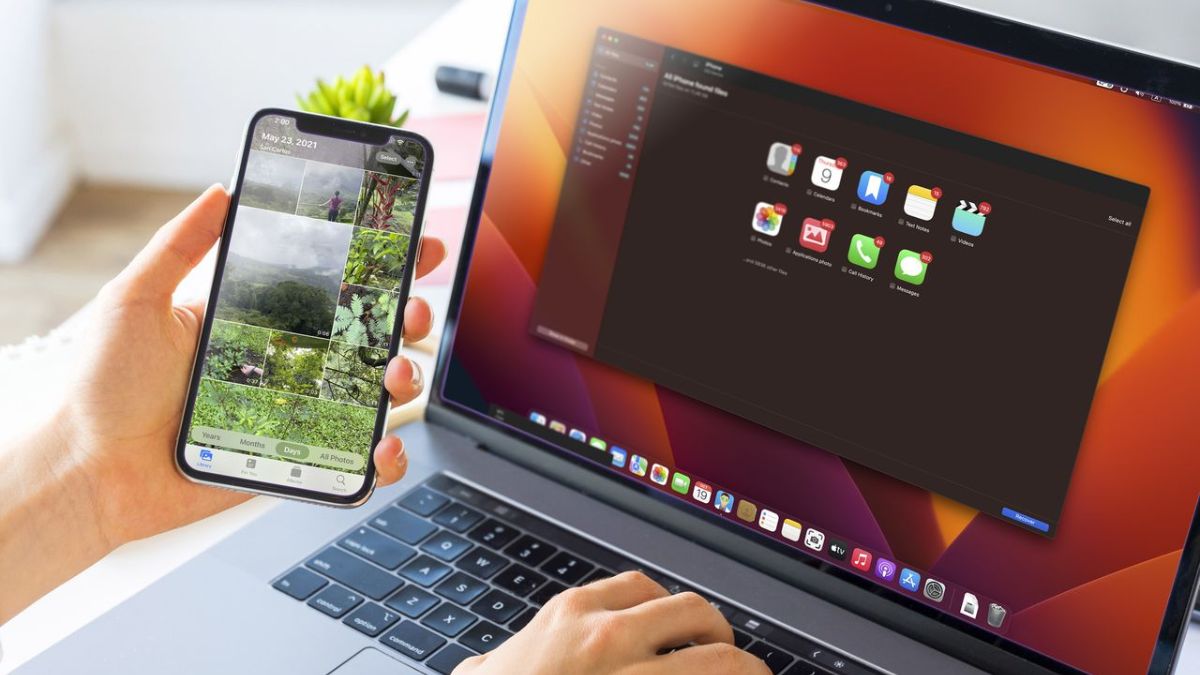
Generally, the photos app is divided into four sections. These are Library, Albums, For You, and Search. Each section performs a separate task and can be used differently.
Library: The library is where all iPhone photos get organized. The organization is usually done in a sequence starting with years, followed by months, and finally days. In fact, the library gives you more options and functions and you can easily filter the photos by tapping the Filters button and selecting an option.
For You: Here, some of the best moments and memories of you are displayed. It uses Artificial Intelligence to search through your photos and videos without ignoring duplicates so as to create a memory for you.
You can therefore do so much on the photo’s app interface including filter the photos, organize them and many more actions. Even if you want to search for some of your best photos, you can easily do that from the photos app.
If you however feel that you do not want to use the photos app, you can still use the photo recovery app, Disk Drill to declutter or organize the photo’s app. Disk Drill is one of the best iPhone cleaner apps and will also help you if you need to recover accidentally removed photos. Just download and install the app, then use it to scan the storage for lost photos.
How to Add Photos to Custom Albums
Organizing photos without duplicates can be very easy. People are used to the old albums and the good thing is that you still get the albums even on your phone.
Photos look quite well-organized when they are placed in albums. The photos you place in one album should be of similar events or taken from the same place so that it can be easier to name them as well as search for them.
To do that, follow the steps below:
- Launch the photos and select the images that you need to organize. You can easily do that by tapping on the photos, selecting them.
- Hit the three-dot icon that is available on the top-right corner to show the options menu. s
- Now click the Add to Album option
- Choose the right album for the photos or create a new album by choosing “New Album”
- Choose a new album to add the photos
Remember, you can also create new albums by selecting “New Album.” Give it a new name then save. Also, you do not really need to add the photos manually. You can now handle so many photos in one incident making the process very efficient.
For bulk photos, follow the steps below:
- Open the Photos app.
- Click the “select” icon appearing in the top right corner.
- Click the Photos that you want to add to the album one by one until a blue tick appears next to all of them.
- Tap the three-dot icon available at the bottom right corner. This will reveal the menu of options.
- Chit the ”Add to Album.”
- Choose the new location where the photos should be directed to. Select the album where you need your photos to be added or create a new one.
Delete Duplicates Photos
Duplicate photos may be bad but a blessing to many depending on circumstances. For instance, it really saves the situation where a duplicate photo would help you with making a decision of which one is the best. It gives you more options to select only the best.
But unwanted photos and duplicates can jam up your phone and make it really clumsy. This is why you may need to remove duplicates. Some of the duplicate files can also be very large and space hungry. Removing them will make your phone faster and improve your user experience.
Luckily, you got access to many apps that can be used to remove duplicates from iPhones. The apps make use of the photo analyzing software so that they can dig through the photo library to gather duplicates.
The steps below will help you with this process of deleting multiple photos:
- Open the Photos app.
- View the photos in thumbnails mode.
- Hit the “Select” option at the top right.
- Select all the photos that you intend to delete.
- Tap the “Delete Photos” to confirm the deletion.
How to Sync and Share Photos with iCloud
iCloud allows users to share photos across many devices. This way, it keeps your memory more accessible and current. Syncing photos in the cloud therefore saves the situation since you can simply delete duplicates from the phone and retain the originals in the cloud. iCloud also helps you recover photos on your iPhone as a backup plan.
Also Check: How to Prepare for Wuthering Waves on iOS
To organize your photos with iCloud, follow the steps below:
- Open settings on your iPhone. Go to Settings, then Your Name, iCloud, and Photos.
- Go to Mac, open System settings, and choose Apple ID.
- From the Apple ID, go to iCloud. While you do this, make sure Photos is enabled.
- Now open the Photos app and check your synced albums.
Conclusion
If you like printed photos, you can also print out a bunch of these photos and delete the duplicate ones. Otherwise, just organize the photos in albums and delete similar ones to clear some storage space on your iPhone.


