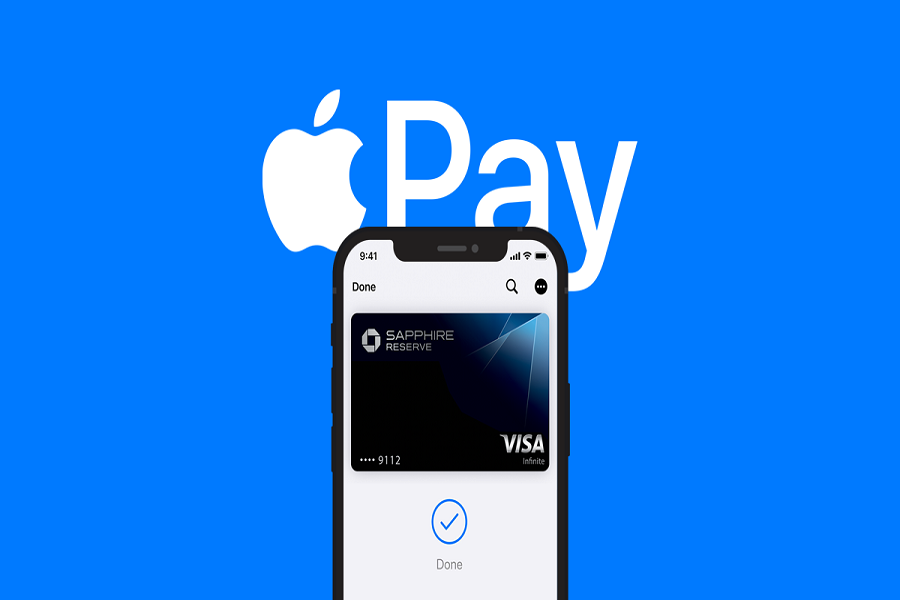
In an age where digital solutions are preferred due to their increased convenience and security, Apple Pay stands out as a leading mobile payment and digital wallet service.
This versatile platform facilitates seamless transactions in brick-and-mortar stores, within mobile applications, and across the web.
The service is available to users operating the iPhone, iPad, or Apple Watch. A key selling point is its security, providing users with peace of mind as it negates the need for physical cards or cash.
Today, we’ll take you through a detailed guide on how to set up and use Apple Pay in-store, ensuring that you can effortlessly embrace this cashless, cardless mode of payment.
How to Set Up Apple Pay
Before diving into how to use this service, it’s critical to understand how to set up Apple Pay on your device. The set-up process is a one-time, straightforward process that needs to be completed before you can start enjoying the perks of this digital payment system.
1. Launch the Wallet App
Start by opening the Wallet app on your iPhone. This app comes pre-installed on all iPhones and serves as the home for Apple Pay.
2. Tap the “+” Symbol
On opening the Wallet app, locate the “+” button situated in the upper right corner of the screen. This symbol is the gateway to add new cards to your digital Wallet.
3. Follow the Card Addition Prompts
After tapping the “+” button, you’ll be guided through a series of prompts. Here, you will need to add your credit, debit, or prepaid card details to your Wallet. It’s a simple and intuitive process.
4. Verify Your Card
Once you’ve added a card, you’ll need to verify it. This is a crucial security step that ensures you’re the rightful owner of the card. Follow the instructions provided by your bank or card issuer to complete this verification.
With these steps successfully executed, your Apple Pay is ready to use. You can now use your iPhone as a digital wallet for in-store purchases.
How to Make a Payment with Apple Pay
Once Apple Pay is set up, making payments in-store becomes a breeze. Here’s a systematic guide:
1. Look for the Contactless Payment Symbol
When you’re ready to checkout, look for the contactless payment symbol at the terminal. This symbol signifies that the terminal accepts Apple Pay and other NFC (Near Field Communication) payment methods.
2. Hold Your iPhone Near the Terminal
Next, hold your iPhone near the payment terminal. The proximity initiates the payment process.
3. Authenticate the Payment
For security purposes, you’ll need to authenticate the payment. You can do this by using Touch ID or Face ID, depending on your iPhone model.
4. Await Payment Confirmation
After authenticating the payment, wait a moment for the payment to be processed. A signal or a beep will indicate that the transaction has been successful.
Voila! You’ve made a payment with Apple Pay.
How to Use Apple Pay in Apps and on the Web
Besides in-store use, Apple Pay extends its convenience to mobile apps and web transactions. Similar to in-store payments, these transactions require a few simple steps:
1. Look for the Apple Pay Button at Checkout
When you’re ready to pay, look for the Apple Pay button at the checkout page.
2. Tap the Apple Pay Button
Tap the Apple Pay button to initiate the payment process.
3. Authenticate the Payment
Authenticate the payment using Touch ID or Face ID, similar to the in-store process.
4. Wait for the Payment to be Processed
After you authenticate the payment, wait for a few moments for the transaction to be processed.
Conclusion
Apple Pay is more than a digital payment platform; it is a tool that elevates shopping experiences by marrying convenience, speed, and security. With the detailed steps outlined here, you are now equipped to set up and use Apple Pay on your iPhone.


