


Updating to the latest version of iOS is crucial for keeping your iPhone secure, optimized, and equipped with the newest features. However, the process of installing a major iOS update is not always smooth sailing.
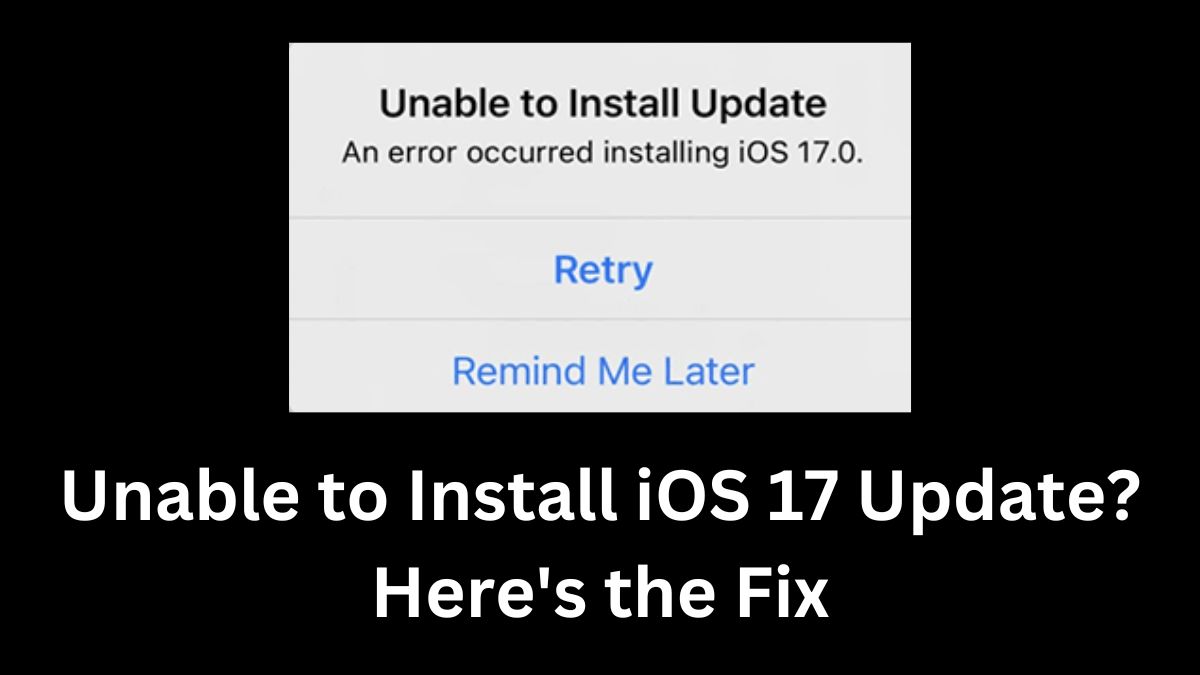
Many users have reported facing the “Unable to Install Update” error while attempting to upgrade to iOS 17. If you’re one of them, don’t worry, here’s how to fix the issue.
What Is the Problem?
The “Unable to Install Update” error can occur due to various reasons, ranging from insufficient storage space to unstable internet connections or software glitches. It’s a frustrating experience, especially when you’re eager to explore the new features and improvements that come with the latest iOS version.
Apple’s servers can also be a contributing factor, as millions of users attempt to download the update simultaneously, leading to server overload and subsequent errors. Additionally, issues like low battery or incompatible devices can prevent the update from installing successfully.
Read Also: How to Jailbreak iOS 17.3
How to Fix the “Unable to Install Update” Error
Before diving into the solutions, it’s essential to ensure that your iPhone meets the minimum requirements for running iOS 17. According to Apple, the update is compatible with the following devices:
- iPhone 15, iPhone 15 Plus, iPhone 15 Pro, iPhone 15 Pro Max
- iPhone 14, iPhone 14 Plus, iPhone 14 Pro, iPhone 14 Pro Max
- iPhone 13, iPhone 13 Mini, iPhone 13 Pro, iPhone 13 Pro Max
- iPhone 12, iPhone 12 Mini, iPhone 12 Pro, iPhone 12 Pro Max
- iPhone 11, iPhone 11 Pro, iPhone 11 Pro Max
- iPhone XS, iPhone XS Max, iPhone XR
- iPhone SE (second generation or later)
If your device is on the list, follow these solutions to fix the “Unable to Install Update” error:
1. Check Your Internet Connection
A stable and reliable internet connection is crucial for downloading and installing iOS updates. If your Wi-Fi or cellular data connection is unstable or slow, it can cause the update to fail.
- Ensure that you have a strong Wi-Fi signal or switch to a different network if possible.
- If you’re using cellular data, make sure you have a stable and fast connection.
- You can also try resetting your network settings by going to Settings => General => Reset => Reset Network Settings.
2. Free Up Storage Space
One of the most common reasons for the “Unable to Install Update” error is insufficient storage space on your iPhone. iOS 17 requires a significant amount of free space to download and install properly.
- Go to Settings => General => iPhone Storage to check your available storage.
- If you’re running low on space, delete unnecessary apps, photos, videos, or other files to free up storage.
- You can also use Apple’s built-in recommendations to offload unused apps or remove old downloads and attachments.
3. Restart Your iPhone
Sometimes, a simple restart can resolve minor software glitches that may be preventing the update from installing.
- Press and hold the Side button and either of the Volume buttons until the “Slide to Power Off” slider appears.
- Drag the slider to turn off your iPhone, wait a few seconds, and then press and hold the Side button again to turn it back on.
4. Update via iTunes or Finder
If the over-the-air (OTA) update method isn’t working, you can try updating your iPhone through iTunes (on Windows) or Finder (on Mac).
- Connect your iPhone to your computer using a Lightning cable.
- Open iTunes (Windows) or Finder (Mac) and select your device.
- Click on the Summary tab and then Check for Update.
- Follow the on-screen instructions to download and install the iOS 17 update.
5. Use a Professional Tool
If none of the above methods work, you can try using a professional tool like Tenorshare ReiBoot to fix the “Unable to Install Update” error without losing any data. This tool can resolve various iOS system issues, including update failures.
- Download and install Tenorshare ReiBoot on your computer.
- Connect your iPhone to the computer using a Lightning cable.
- Launch ReiBoot and select the “Standard Repair” option.
- Follow the on-screen instructions to download the firmware package and repair your iPhone.