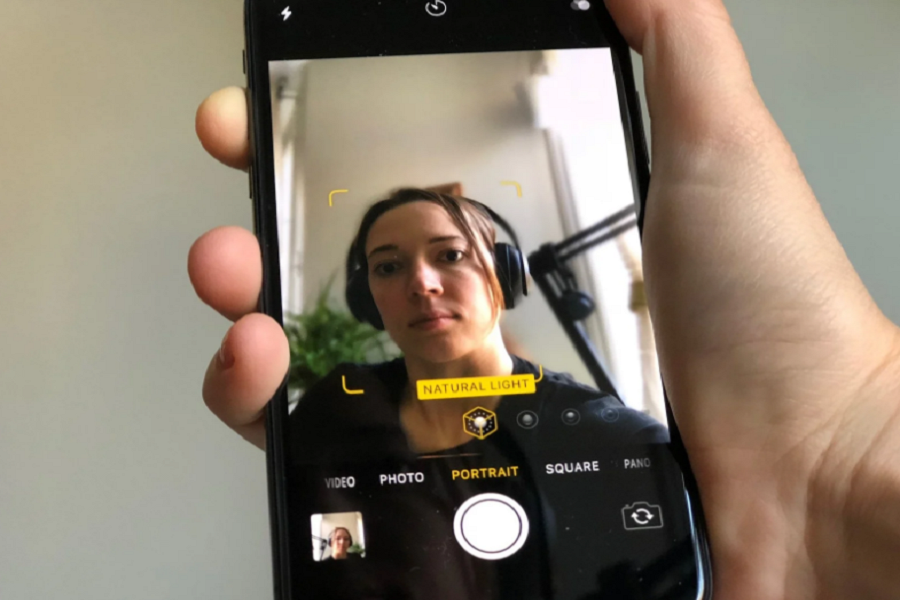
Taking selfies with the portrait mode was a dream for me since the release of the iPhone X. Apple took time to finally add the portrait mode feature to the selfie camera on the iPhone 12 models. With the help of the new A14 Bionic Chip, the company improved the camera as they added Night Mode Portrait for selfies. In this article, we will show you how to take night mode selfies in portrait mode on iPhone 12.
The camera was not only up to the portrait mode selfie; it also has the feature to zoom up to 30X. Like Samsung Premium models and the OnePlus 8, there is no specific button to activate the Night Mode. Still, the iPhone’s camera automatically detects the low-light environment to capture night mode photos. Since there is no night mode portrait mode button, many users wonder how to capture selfies in portrait mode in night mode on iPhone 12 devices. If you are also the one who is struggling with the same, then let’s find out the process.
How To Shot Night Mode Portrait Selfies on iPhone 12 Models
- Open Camera app on your iPhone in the low-light environment.
- Your iPhone will automatically detect the low light, and you will see the yellow-colored moon button on the top left corner. You can also adjust the exposure by tapping on that yellow-moon button.
- Now switch your iPhone’s camera to the Portrait option.
- Ensure that your iPhone is 2-8 feet away from the object to work the portrait mode properly.
- If anything else needs, your iPhone’s AI will suggest you do.
- You will also see few more options on the screen, which you can use to add lighting effects.
- In the end, tap on the Shutter button to capture the image.
That’s it!
This is how the night mode to portrait mode works for the front camera on your iPhone 12 devices. Similarly, you can go through the same process to shot some amazing pictures on your iPhone 12 models with the automatic night mode effect.
Need more tips for using iPhone 12’s camera? Don’t hesitate to ask us through the comment section.


