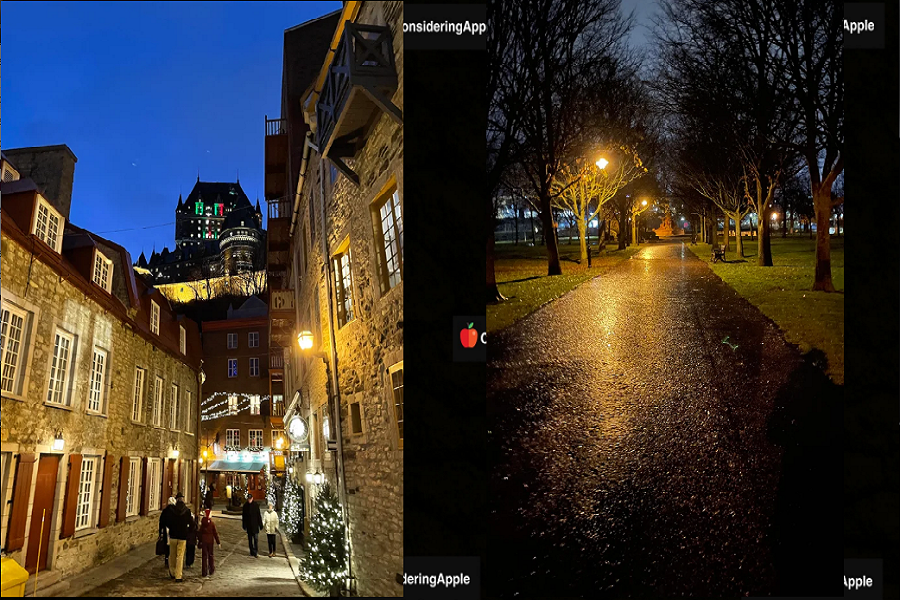
The term Night Mode is a catch-all name for the feature most likely since Huawei called it that when they popularized it first on the p20 Pro where it’s called night in the camera modes. Other manufacturers had different names sometimes, though Samsung and the iPhone both also call it night mode and LG calls it night view. The Pixel calls it night sight, Oneplus calls it nightscape and even budgets categories phones have it in some form or another like TCL plexes, super night and the Nokia 7.2s night mode.
So if you are into iPhone photography and wondering how to get the best shots in low light? Apple’s latest iPhones, the 12 and 12 Pro, offer a camera feature called Night Mode. Night Mode makes low light photography easy, allows users to take clear and vivid pictures in low-light situations. We’ll discuss below in this article about, How to take night mode pictures on iPhone 12?
How To Set and Change Night Mode Settings on iPhone 12?
Step #1:Start by opening the camera application, At the top there and by default has opened up to Photos. If it opens somewhere else, you can swipe across, that’s how you navigate through the sections and bring yourself to the photos section.
Step #2: Tap the little arrow at the top, and that leads to all the available options in the photo section. It’s always important to set these things up before you take your photos, that way your shot is going to be precisely how you want it. So the options we got is Flash, Live Photo, and you get Night mode between Live and the Flash, It’s going to appear whenever the camera determines that a low light situation exists and it’s going to use night mode to enhance and make the photos look good in low light.
Step #3: When the night mode is available to you, you can tap on it, and you can configure how much or how little it’s going to need. You can turn it on Max(2s) for a specific photo, it’s two seconds. We tap, and it goes through that night mode process and is done.
Best Camera Tips To Take Better Photos on iPhone 12
- Exposure Controls
Exposure control gives you much more control over your images, So this works best for Higher Dynamic Range scenarios, so that means a bright part of the image and a dark part. So you can expose for the area that you want to see. You can swipe up anywhere on the screen, and the menu will pop up for you. From there the first is tap and hold to lock the focus because whatever you’re taking an image of obviously you want your focus on that, and you don’t want to change after that though when the focus is locked, you can then press all the exposure controls. It’s a way to change the exposure compensation so you can get the image a little bit brighter.
- Aspect Ratio
Choose your aspect ratio and essentially there are three ways you can do on the iPhone. You can have 4×3 which is the normal aspect ratio for photos; You can also go to a 16×9 though so depending on where you think you’re going to send the photo or use it, you might want to choose this one if you’re going to post an Instagram. You can also choose a square option if you’re going to post an Instagram. The field of view is set on the iPhone, especially on ultra-wide. It’s like 120 degrees so whether you shoot 4×3 or a 16×9. 16×9 will take up more of the screen, but it won’t go beyond the 120-degree field.
- Grids
To Get grids on your iPhone camera, You have to go into your main iPhone settings then search for the camera settings, and when you scroll down, there will be an option for grids, and you can make sure that that’s turned on and you can get grids on your iPhone camera application when you’re shooting photos. This is going to help you to compose images. Suppose you want to take images where the subject is maybe off to the side a little bit so you can use the rule of thirds basically so splitting the image up into a grid of 3×3. So you can get some better-looking shots like that, but also a hidden feature in the iPhone is If you do use grids you get these crosshairs and it tells you when the iPhone is perfectly level.


