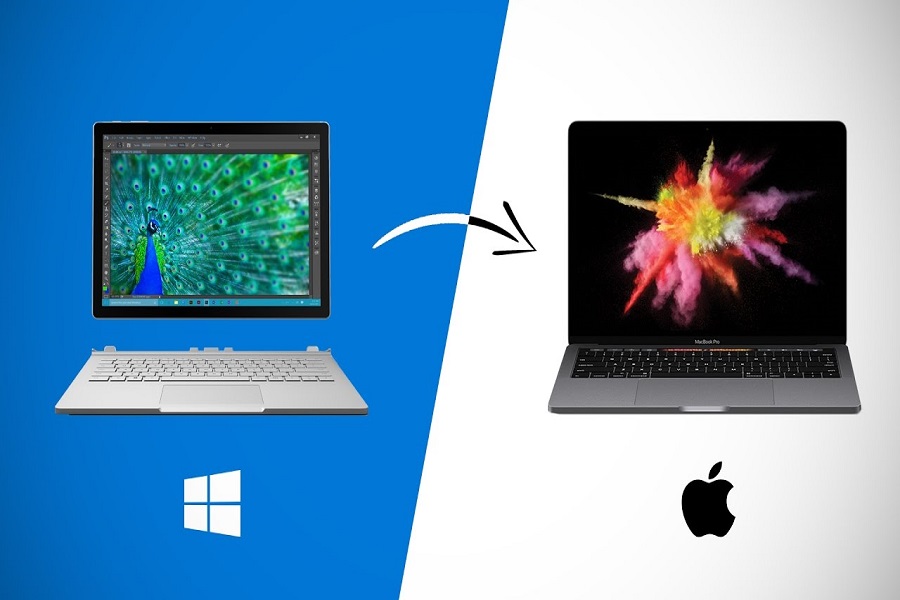
Switching from a PC to a Mac may initially seem daunting, but you are lucky since we have prepared a step-by-step guide to move from PC to Mac straightforwardly. It was a dream for me to have a Mac device since it costs a hefty amount. But finally, when I bought the Mac, it was so blessing. But transferring data from my older Windows PC to a newer Mac took a lot of work. However, after watching some tutorial videos and guides, we have prepared this easygoing guide to switching from PC to Mac. So let’s dive in and explore the world of Mac!
How to Switch from PC to Mac
Switching from PC to Mac can seem daunting, but it is actually quite straightforward. Here are some steps to follow:
Step 1: Install the latest Microsoft Windows updates for your PC
Before making the switch to a Mac, it’s essential to ensure that your PC is up to date with the latest Windows updates. This will help ensure a smoother transition and minimize any compatibility issues.
Step 2: Download and install the appropriate Migration Assistant for your Mac
Apple provides a Migration Assistant tool that helps you transfer your files, documents, and settings from your PC to your Mac. Visit the Apple website and download the Migration Assistant software that is compatible with your Mac’s operating system.
Step 3: Connect your Mac and PC to the same network
To transfer data from your PC to your Mac, both devices need to be connected to the same network. You can either connect them to your home Wi-Fi network or establish a direct network connection by using an Ethernet cable.
Step 4: Open Migration Assistant on your Mac and select the option to transfer from a Windows PC
Once your Mac and PC are connected to the same network, open the Migration Assistant on your Mac. Select the option to transfer from a Windows PC. This will initiate the data transfer process.
Step 5: Follow the onscreen instructions until you’re asked how you want to transfer your information
The Migration Assistant will guide you through the transfer process with onscreen instructions. Follow these instructions until you reach the point where you’re asked how you want to transfer your information.
Step 6: Select the icon representing your PC, then click Continue
In the Migration Assistant, you will see an icon representing your PC. Select that icon and click Continue to proceed with the transfer.
Step 7: Enter the administrator name and password into the Mac Migration Assistant and click continue
To ensure a secure transfer, you will be asked to enter the administrator name and password of your PC into the Mac Migration Assistant. Provide the necessary information and click continue to proceed.
Step 8: Select the Windows PC from the list displayed on the Mac and check the displays of both the PC and Mac to make sure they’re showing the same passcode
The Migration Assistant will display a list of available Windows PCs. Select the one you want to transfer data from and ensure that the passcodes displayed on both the PC and Mac match. This ensures that you are connecting to the correct PC.
Step 9: Click Continue on both systems
Once you have verified the passcodes, click Continue on both your PC and Mac to initiate the data transfer process.
Step 10: Select the items you want to transfer and click Continue
After scanning your PC, the Migration Assistant will display a list of items that can be transferred. Select the files, documents, and settings you want to transfer to your Mac and click Continue.
In addition to these steps, there are some Mac tips for Windows switchers that can help make the transition smoother. These include:
- To right-click on a Mac, click the right corner of your Apple mouse, or click with two fingers on your Apple trackpad.
- Use the Finder instead of Windows File Explorer to browse for files on your Mac.
- Utilize Spotlight to quickly find files on your Mac.
- Use Quick Look to preview most files on your Mac.
- Back up your files using Time Machine.
- Explore the Help menu in the Finder menu bar for more information and assistance with your Mac
Once you have followed the above ten steps, you will have a new masOS-based Mac with every data from an older PC. Was this article helpful? Did it help to move your PC data to Mac? If you need more help, don’t hesitate to ask us via the comment section.


