Apple has done a great job on iOS 15 by upgrading FaceTime app to the next level. FaceTime is not only up to the Screen share; it also allows non-Apple users to join the FaceTime call. But many users are still not aware of how to record FaceTime screen with sound on iOS 15.
Since Android and Windows users can join FaceTime calls, people around the world started using FaceTime for online classes, business meetings, and more use. But sometimes, users wish to screen record FaceTime with audio on iPhone to watch later or share with another person. If you wonder how to record FaceTime with sound on iPhone in iOS 15, we are glad to share the complete guide here.
How To Screen Record FaceTime With Audio On iPhone
Note: Make sure that you have already added the Screen Recording option to the Control Center before starting the FaceTime call.
- Open the FaceTime app and make a call.
- Once the call starts, open Control Centre.
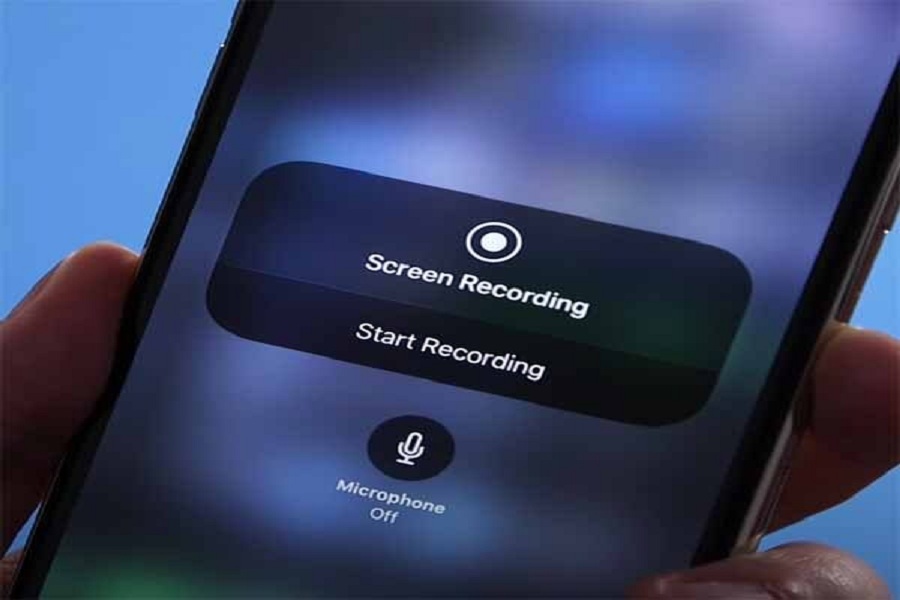
- Next, long-press on the Screen Recording, and it will show a couple of options.
- Tap on Microphone Off greyed sign below to turn it ON.
- Once the Microphone is turned ON and coloured, start the Screen Recording.
After turning the Microphone option ON and starting Screen Recording, your iPhone will record the FaceTime screen with sound. Once the recording is done, you can stop and see the saved FaceTime recording in the Photos app.
Feedback
Have you followed the guide and recorded the FaceTime screen with sound? Did you enjoy it? Please share your feedback in the comment box.


