Sending payments or sharing essential documents, everything has become easy with the evolution of cutting-edge smartphones. However, many geeks still prefer to send or receive fax via mobile. Since there is no built-in feature on iOS devices to send fax from iPhone or iPad, many users wonder how to fax from iPhone.
Those who work for Government or financial firms mostly prefer to share or receive fax because of security. However, you are good to go with a fax machine, but if you rarely need to fax, you can also directly send a fax from your iPhone or iPad. In this article, we will show you how to fax from iPhone for free with the help of a dedicated app. Without further ado, let’s get to the guide.
How To Send Or Receive Fax From iPhone Free
Note: Make sure that your iPhone is running iOS 11 or later version to use the below app.
- Open App Store on your iPhone.
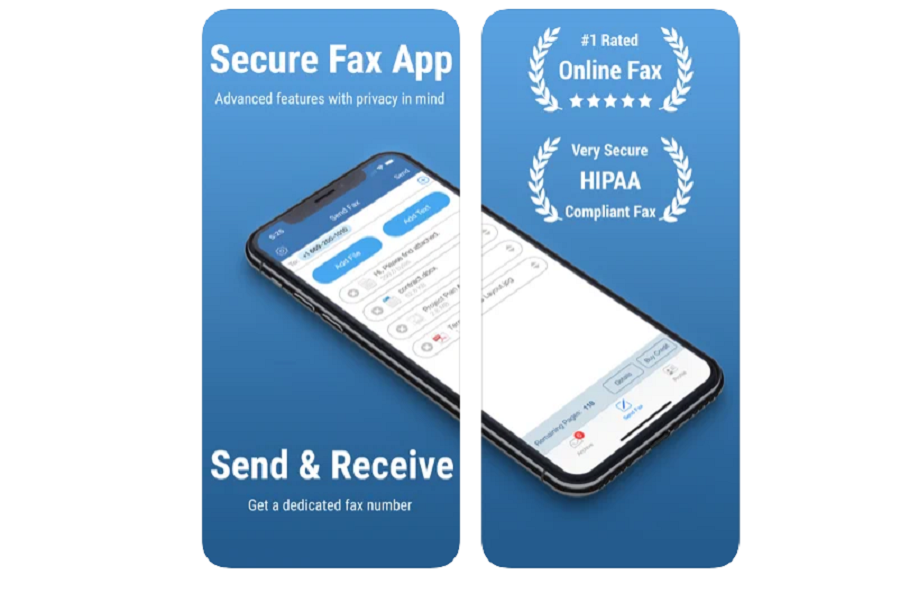
- Search for FAX.PLUS app and install it on your device.
- Launch the app and log in with a Gmail account. You can log in, but you need to verify your phone number.
- Next, go to Send Fax section and type the recipient’s fax number.
- Tap on Add File and Add Text buttons to attach the file and add a cover page to the fax.
- Now tap the Send button.
- That’s it. The fax has been sent.
Alongside sharing fax from iPhone, you can use this app to send fax via emails, scan documents from your phone, upload or attach documents like images, word files, sign documents, or set password-protected files to keep the essential files private and protected.
This iPhone Fax sharing app is considered the best since it has a 4.6 rating out of 5. Once after using this app for fax on your iPhone, don’t forget to share your feedback in the comment box. Also, feel free to share more iOS fax apps like FAX.PLUS in through the comment box.


