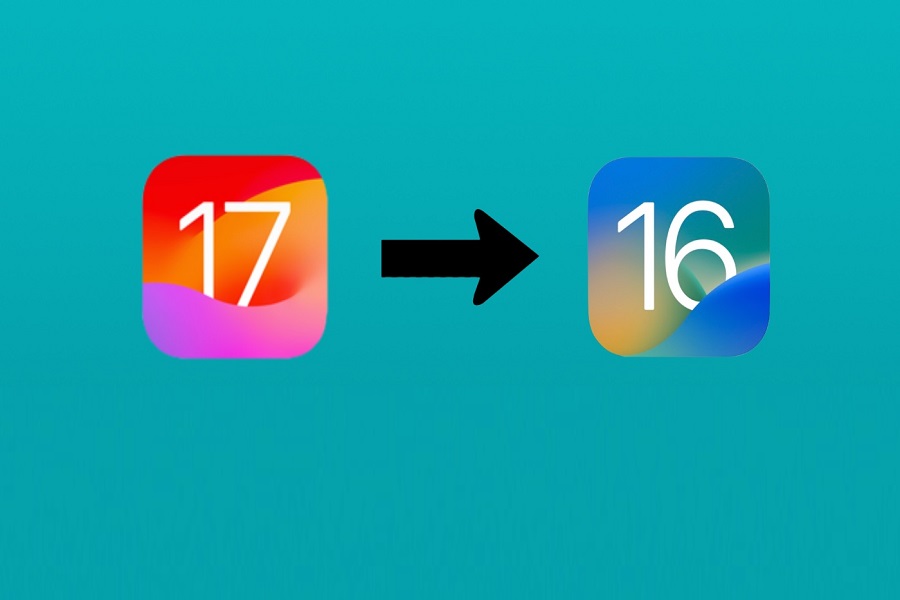
I know many users were eager to install iOS 17 beta on their device to get advantages of new features before hand. Those who have installed it know that it is not an easy ride. As iOS 17 is still in beta almost all the users who have installed it are now facing bugs and issues on their devices. Luckily there is a way to go back to the iOS 16 software update. All the users who have installed iOS 17 beta version have an option to downgrade their device to iOS 16 so that you can get rid of all the bugs and issues. In this article I will show you the steps of how to downgrade from iOS 17 to iOS 16 in a simple way without any hassle.
Why should you downgrade your device from iOS 17 to iOS 16?
The main idea behind releasing the iOS 17 beta version is to gather feedback and identify the bugs and issues. Beta versions are not stable in any way and it may lead to frequent crashes, compatibility problems, performance issues etc. It’s possible that certain features or functionalities may not be fully implemented or available in beta versions.They are not designed for everyday use by the general public. Using a beta version may result in inconsistencies, or unexpected behavior. That’s why if you have a change, you should downgrade your device from iOS 17 to iOS 16.
Requirements:
Before you begin with the process of downgrading your device to iOS 16, there are a few things you need to keep in mind.
- You will need a PC or a mac as it will use tools and software that are only compatible with their operating system.
- Make sure that you have a steady internet connection. You will need a good internet connection to download the IPSW file.
- Before you begin the process of downgrading make sure to get a backup of your data. There are chances you may lose all your data while downgrading the software, so better be safe and get the backup.
How to Downgrade from iOS 17 to iOS 16?
Method 1: Using DFU Mode
- Connect your iPhone to your Mac/ PC.
- Tap on “Trust” button when prompted.
- Access Finder if you’re using a Mac. If you are using PC then go to iTunes.
- Activate Recovery Mode on your iPhone. The steps for entering Recovery Mode vary depending on the iPhone model you have.
- In Finder (Mac) or iTunes (Windows PC), click “Restore and Update.”
- Wait for the process to initiate and follow the on-screen instructions.
- Once the process is complete, your device will be running iOS 16.5. You will need to set up your device manually and restore your data from iCloud.
Method 2: Using IPSW File
- Download the device IPSW file on your computer.
- Visit Apple’s official website or other trusted sources to find and download the latest iOS IPSW file for your specific iPhone model.
- Turn off Find My iPhone on your device.
- Connect your iOS 17 iPhone to your computer using an USB cable. If a message appears on your device saying “Unlock iPhone to Use Accessories,” use Touch ID, Face ID, or enter your passcode.
- Launch iTunes on your computer (or Finder if you’re using a Mac with macOS Catalina or later). Ensure that you have the latest version of iTunes installed.
- Select your device icon in iTunes or Finder, then go to the “Summary” tab.
- Hold down the Option key (Mac) or the Shift key (Windows) on your keyboard and click the “Restore iPhone” (or “Restore iPad” or “Restore iPod”) button.
- A window will open, allowing you to select the IPSW file you downloaded earlier. Locate the IPSW file on your computer and select it.
- Confirm your selection and wait for the restore process to complete. Your device will be downgraded to iOS 16.
- After the downgrade process finishes, set up your device as new or restore your data from a backup if available.
Until next time, with another topic. Till then, Toodles.


