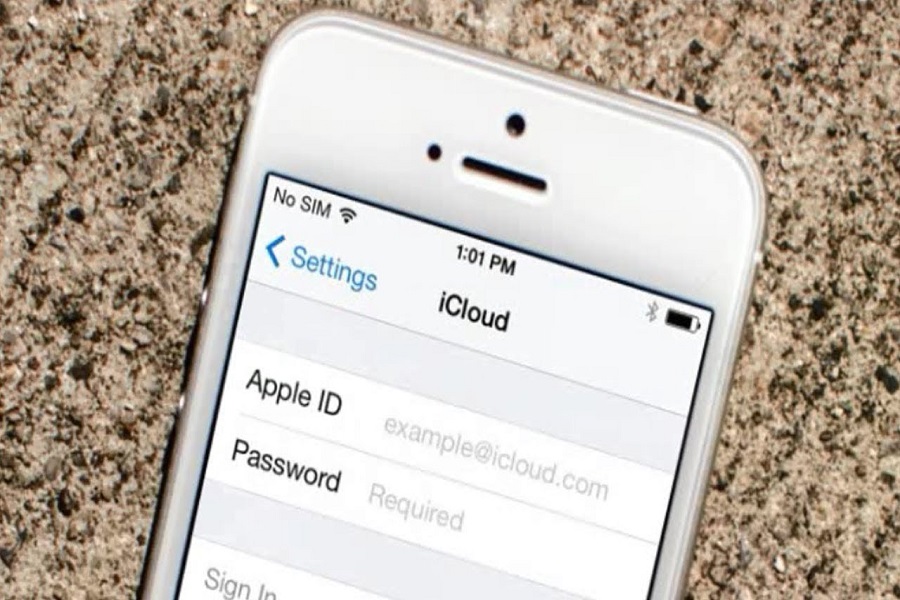
Apple ID is your personal account for everything related to Apple. With a single account, you can access all of Apple’s products and services, including iCloud, the App Store, and many others.
Note: Do not share your Apple ID and Password with anyone else.
Why do you need an Apple ID?
When you purchase a new Apple device, you can sign in with your Apple ID to store and access all of your personal data in iCloud, including files, photos, contacts, and calendars. Previous purchases from the iTunes Store, App Store, and Apple Music can be downloaded. If you ever misplace a device, you can track it down by using the find my app. With so many features and personal information, your Apple ID is also your account for iMessage and FaceTime. When it comes to Apple, your Apple ID is the most important login you have, so make certain that only you have access to it.
How to create a new Apple ID
METHOD 1: Create Apple ID using web browser:
- Navigate to create Apple ID website.
- Enter all of your information, such as your name, email address, birth date, security questions, and so on, as prompted.
- Keep in mind that your email address will serve as your Apple ID.
- Tap Continue once you’ve entered everything, including the password and captcha code.
- Now enter the six- digit verification code that was sent to you via email.
- Tap the Continue button.
- Your Apple ID will be created.
- To avoid having to enter a payment method, scroll down to Payment and Shipping and click Edit.
- Select None as the payment method. Make sure to include your full name and address, as well as a phone number.
- When you’re finished, click Save.
METHOD 2: Create Apple ID on your iPhone:
- To begin, open the Settings app on your iPhone.
- Then, at the top, tap the ‘Sign in to your iPhone’ button.
- Tap the blue ‘Don’t have an Apple ID’ button.
- You will now be prompted to ‘Create Apple ID’ account, which you can tap to start the Apple ID account creation process.
- Enter your birthday, then your first and last names, and finally your email address.
- You can use an existing email address or create a free iCloud email address like [email protected].
- After that, enter a new Password and confirm it.
- Select three security questions and type in the answers.
- When you see the Terms and Conditions screen, click the ‘Agree’ button in the bottom right corner.
- Select whether you want to Merge existing data on your phone or ignore it.
- We recommend that you tap OK to enable the ‘Find my iPhone’ feature when prompted by iOS.
METHOD 3: Create Apple ID using AppStore:
- Go to the App Store app on your iPhone.
- At the bottom, select the Create New Apple ID option.
- Fill in your current email address and create a strong password for your new account. These details will be your new Apple ID’s username and password, so make sure you enter them correctly.
- Then, select the country where your billing address is located. All Apple IDs are region locked, so choose your billing address carefully.
- Read the Terms and Conditions and Privacy Policy on the next screen, then tap Agree followed by Next.
- Fill in your name, birthday, and whether you want to receive Apple updates.
- Fill in your credit card and billing information.
- If you don’t want to set up a payment method right away, select None.
- Enter and confirm your phone number before proceeding.
- Apple will send you a confirmation email to the address you provided.
- When you receive this email, click the verification link.
- Your Apple ID is now created.
Until next time, with another topic. Till then, Toodles.


