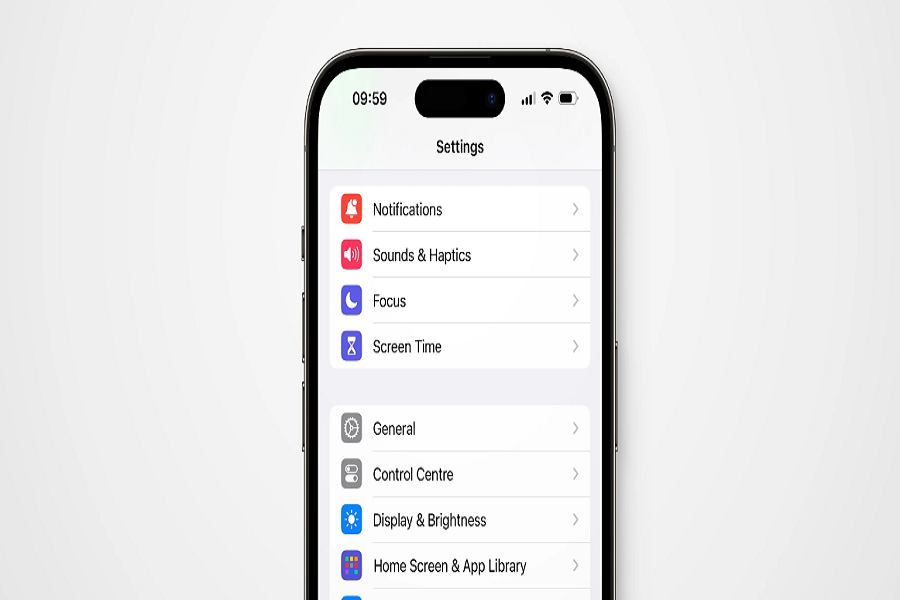
The default notification sound in iOS 17 has been updated to a more subtle chime called Rebound, replacing the previous Tri-tone alert tone. While some may prefer this quieter notification, others find it too soft for their liking. The good news is you can customize notification sounds for individual apps in iOS 17.
While Apple doesn’t provide a system-wide option to change sounds per app, you can modify alerts for certain first-party apps like Messages, Mail, Calendar and more. So here we are going to how to change the notification sound for a specific apps in IOS 17.
How To Change Notification Sounds for First-Party Apple Apps
For several built-in Apple apps, you can alter the notification sound from the default Rebound chime to one you prefer. Here are the steps to do so:
Step 1: Open the Settings app and tap on Sounds & Haptics.
Step 2: Scroll down and you will see different app categories with alert tones:
- Ringtones and Text Tones
- New Mail
- Sent Mail
- Calendar Alerts
- Reminder Alerts
- AirDrop
- New Voicemail
Step 3: Tap on any of these categories and you will see the Rebound sound selected.
Step 4: Tap on Rebound and you will get options for all the different alert tones available on your iPhone.
Step 5: Select the sound you want to set for notifications from that app. You can choose from ringtones, text tones or buy new ones from the Tone Store.
Step 6: The alert will now change for notifications from the respective app. Repeat the steps to customize notifications for other eligible Apple apps.
So this method allows you to choose notification sounds for Messages, Mail, Calendar, Reminders, Voicemail etc. But what about third-party apps like Facebook, Instagram, Gmail and others? Let’s look at how you can change those alert tones.
How To Set Custom Notification Sounds for Third-Party Apps
Since developers create third-party apps, the notification sounds are locked from an iOS system perspective. However, many apps provide settings within the app to change notification sounds. Here’s how to find these options for popular apps:
- Tap the hamburger menu icon in the Facebook app.
- Go to Settings & Privacy > Settings.
- Tap on Notifications.
- Select Tone and choose your desired sound.
- Go to your profile tab.
- Tap on the three line menu icon.
- Go to Settings > Notifications.
- Tap Sound and select your preferred notification sound.
Gmail
- Open the Gmail app and tap on your profile icon.
- Go to Manage your Google Account.
- Tap on Notifications.
- Choose Gmail and tap Sound to change it.
- Open WhatsApp and tap on the three dot menu icon.
- Go to Settings > Notifications.
- Tap on Notification Tone and select your desired sound.
- Tap your profile icon in the Twitter app.
- Go to Settings and Privacy > Notifications.
- Tap Sounds to choose a custom notification sound.
Slack
- Tap on your workspace name in the Slack app.
- Go to Settings & Administration > Workspace Settings.
- Choose Notifications > Tones > Custom Tones to change sounds.
As you can see, while the process varies by app, the ability to customize notification sounds is commonly provided. Check for a Sounds, Notifications or Settings section within third-party apps to locate this option.
Conclusion
Although Apple doesn’t allow changing default notification sounds across the board, you can customize tones for first-party apps, and many third-party apps provide individual settings. Take the time to set sounds that are appropriate for each app’s alerts based on their purpose and your needs. Leverage shortcuts if developers haven’t added native options. With these tips, you can take control of distraction-free notifications. If you need more tips for using iOS 17, ask for the feedback in the comment box.


