Want to change your Apple ID, but don’t know how to dot it? Changing Apple ID is a pretty simple process that allows you to update your email address associated with your Apple account. Whether you want to switch to a new email or need to use a third-party email address, we have got your back. This article will guide you through the simple steps of how to change Apple ID from you iPhone. Let’s get started!
Contents
Can you change Apple ID to any email address?
Yes, you can change your Apple ID to any email address, including thirdparty email providers like Gmail, Yahoo, or Outlook. Keep in mind that the email address must be valid and accessible.
How to change Apple ID?
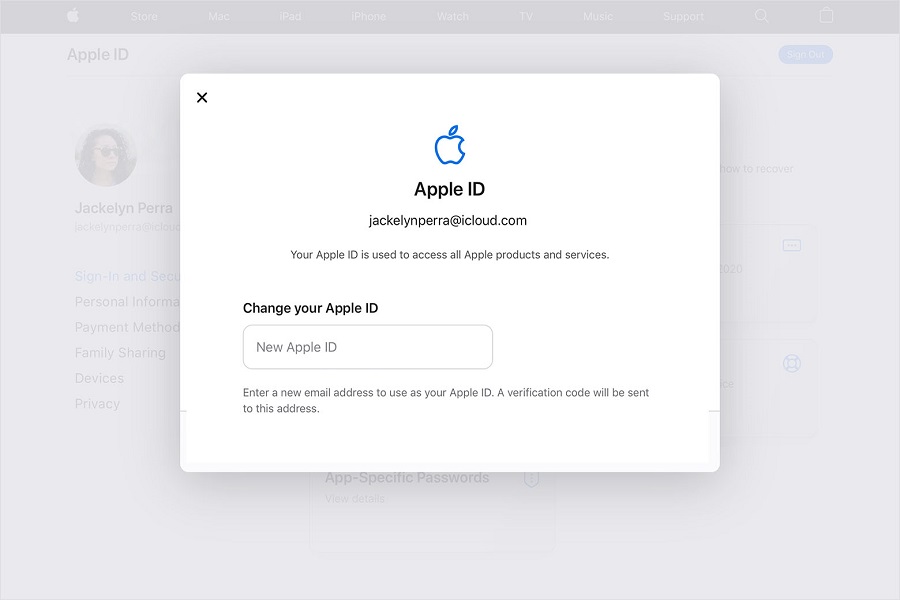
Method 1: Change apple id online
- First and foremost you need to visit the official website: applied.apple.com.
- Sign in with your apple id and password.
- After signing in you need to go to sign-in and security option.
- From here select change your apple ID option.
- Now enter your new email id that you want to use.
- After entering your new email, click on change apple id option.
- You will receive a code. If you have changed your Apple ID to a third-party email address, check your email inbox for a verification code.
- Enter the code to complete the verification.
- After doing this make sure that you also sign in with the new apple id into the services like iCloud, messages, etc.
- That’s it, its that simple to change your Apple ID to new one.
Method 2: Using iPhone
- Open the settings app on your iPhone.
- Go to your profile by clicking on your name. by doing this you will be able to access apple id settings.
- Scroll down and locate sign out button.
- Click on it to sign out.
- You need to enter your current apple id while signing out.
- Click on the turn off button.
- You will be presented with 2 options now. You can either select create a backup of your data or continue without backup. Select accordingly.
- Click on the sign out button.
- Click on confirm when prompted.
- Now go back to the main page of setting app.
- Tap on the sign in to your iPhone option.
- Enter your new apple id and password.
- After entering your new Apple ID credentials, tap the Next button to proceed.
- Follow any additional prompts or security measures, such as two-factor authentication, to complete the sign-in process.
- Update your apple services with the new apple id.
- In the Settings app, locate and tap on iCloud or the specific service you want to update. Sign in using your new Apple ID and follow any instructions to sync your data.
Until next time, with another topic. Till then, Toodles.


