Sharing the screen image with the help of the screen is the best way to share something catchy in the image file. But screen recording best gameplay moments or tutorials is also fun these days since Apple has the best screen recording feature for iOS users to record screens and share with others.
As an iPhone user, I often use screen recording to record any bugs, fix tutorials to share with others, and record my best gaming moments so that I can share with my followers on my Instagram and other platforms.
Even though the Screen Recording feature is so popular among users, many geeks are unaware of it and don’t know how to add screen records on iPhone. Therefore, here are simple steps you should follow to add a screen record on iPhone’s Control Center to use it quickly.
How To Add Screen Record On iPhone
- Open the Settings app.
- Select tap on Control Center.
- From the list, tap plus (+) icon next to Screen Recording.
How to use Screen Recording on iPhone
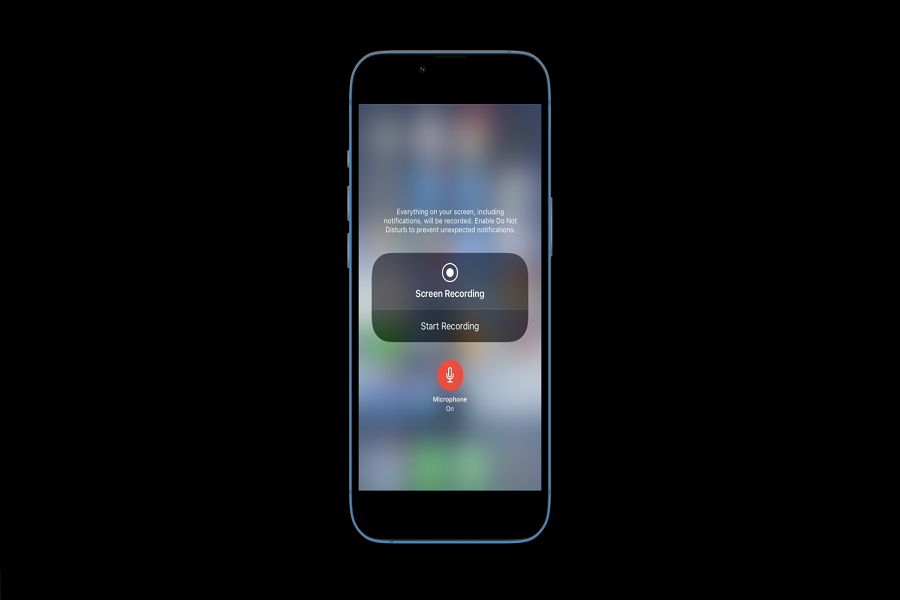
Once you have followed the above three easy steps, the Screen Recording button will be added to the Control Center. To start screen recording, you just need to scroll down and tap on two nested circles (screen recording icon) to begin the screen recording process. After tapping on it, it will take around three seconds to start; you need to tap on the same button again from the Control Center to stop recording. The screen recording will be saved in the Camera Roll section’s recent feed. You can open and edit the recording from there or share it with others.
When you start recording the screen while hitting the screen record button, you can use the Microphone Audio option to add your voice to the screen recording.
Did you follow the article and add the Screen Recording button to the Control Center? Need more tips? Do not hesitate to ask for more help through the comment box.


