Apple pay is one of the leading payment services offered by Apple. It is one pf the most useful applications which allow users to make any amount of payment by using their iOS devices. Users don’t need to carry around cash, they can just scan the NFC reader and make the payment without any hassle. It is one of the most successful contactless payment methods and also the most secured one. Obviously, there are many users who are still not yet familiar with how to add money to Apple pay. Worry not folks! In this article, I am going to show you how to setup, add money and use Apple pay on your iOS devices.
What is Apple Pay?
Apple pay is one of the most popular services created by Apple. I am sure everyone can agree to the fact that since Apple Pay has come into play the purchasing of stuff has become much easier since you don’t have to carry cash or card every time you go out. There is always a risk of your cash getting stolen or card information getting leaked, but Apple Pay is one of the most secured method of payment.
How does Apple Pay work?
Apple Pay uses special technology called NFC (Near Field Communication) to transmit the payment details to a payment terminal, making it a convenient and secure way to pay for things.Your credit or debit card information is safely stored on your iPhone, Apple Watch, or other compatible Apple devices as part of Apple Pay’s functionality. Simply place your device next to a contactless payment terminal to make a payment, or choose Apple Pay as your payment option when making an online or in-app purchase.
How to setup Apple Pay?
- Tap the Add button in the Wallet application.
- To add a new card, tap Debit or Credit Card.
- Select a card from your previous use by tapping Previous Cards.
- Select Continue.
- To add a new card, follow the instructions on the screen.
- Check your information by calling your bank or credit card company. Before allowing you to use your card with Apple Pay, they can require you to fill out a form or download an app.
- You may also add the card to your Apple Watch if you have one that is connected.
How to setup Apple Cash?
- For your Apple ID, enable two-factor authentication. Use the same Apple ID that you use to log into your device to iCloud.
- Include a valid prepaid or debit card in the Wallet app.
- Open your device’s Settings application.
- Scroll down and click on “Wallet & Apple Pay.”
- Switch on Apple Cash.
- Click “Apple Cash” under “Payment Cards.”
- Click “Continue,” then follow to the instructions that are displayed on your screen.
How to add money to Apple Cash?
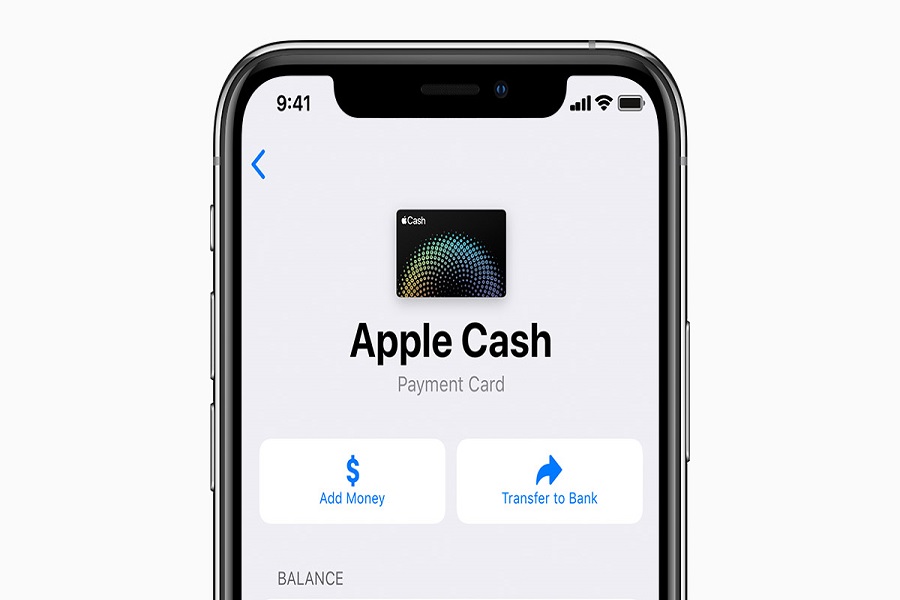
- Open wallet app on your iPhone.
- Select the Apple Cash option.
- Click on the three dot icon to access your card information.
- Select Add Money option.
- Put in the amount you want to add. You must add at least $10.
- In the top right corner, press the “Add” button.
- Verify the debit or prepaid card you intend to use to make the addition of funds.
- Confirm your billing address.
- Finally, verify with your passcode, Face ID, or Touch ID.
- You are done!
How to add money to Apple Pay without card?
- Open the wallet app on your iPhone.
- Click on the Apple cash option.
- After that tap on the three dot icon.
- From the menu click on the card details.
- Go to bank account and then click on Add account.
- Add routing number and account number.
- After entering your credentials, you will receive a trial deposit from Apple to confirm your bank account.
- Click on Add money.
Until next time, with another topic. Till then, Toodles.


