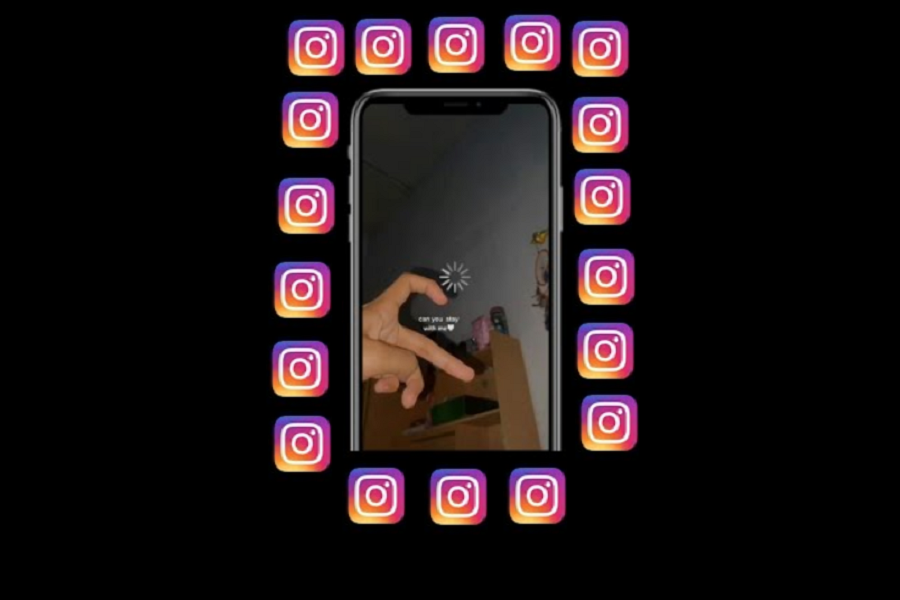
Nowadays, Instagram content creators are coming with new and innovative reels. People are adding multiple photos and videos in short Instagram reels and getting millions of views. Currently, I have seen many Instagram reels with loading screen filter effects.
In this article, we will show you how to make buffering effect reel on Instagram from iPhone. Earlier, we have already prepared the guide on adding 27 photos to this sound and letting it sync. Similarly, people are posting cute couple and travel videos with loading screen effects on Instagram reels. Without further ado, let’s check out the guide.
How To Add Buffering or Loading Effect On Instagram Reel On iPhone
Note: Make sure that the Instagram app is updated to the latest version.
- Open new Reel posting section on Instagram by swiping left to right.
- Tap on Filter and scroll through the option until you see the Search option. Tap on the Search option.
- Type ‘Buffering’ and select the Second number option. This option has no music. You can add the music later or use it from the Saved section.
- Now tap on the Screen and again tap on screen to stop buffering.
- Now you need to set timer to pause buffering at the exact time. Tap on the below down arrow at the end next to Layout and tap Timer.
- Set the timer and go back.
- Now record the video and tap on the screen for buffering icon. While the buffering icon is loading, you can add text and tap Done.
- You can set text when buffering start. Use the below screen to adjust the text according to the buffering effect.
- Once the video is done, you can also add a song from the top. Most of the users are using the “Way back home” guitar version in the background.
- That’s it.
That was the way to make Instagram reel with buffering circle from iPhone. Time to create the best reel with the loading effect and go with the trend before it ends.
The Final Words
Was this article helpful? Have you created the best reels with buffering effects on Instagram? Need more help regarding the same? Please do not bother to ask directly through the comment box below. We will keep preparing more tutorials like this. Stay tuned with us.


