Apple Pay has emerged as a frontrunner, offering a seamless and secure way for millions of users to transact with a single tap. Yet, despite its widespread adoption, the inner workings of Apple Pay remain shrouded in mystery for many. Misconceptions abound, and the line between what Apple Pay does and doesn’t do often gets blurred.
So, I have decided to pull back the curtain on Apple Pay, debunking common myths and providing a clear, step-by-step breakdown of its functionality. Hence, whether you’re a seasoned Apple Pay user or a curious newcomer, buckle up as we dive deep into the fascinating world of Apple’s digital wallet.
What is Apple Pay?
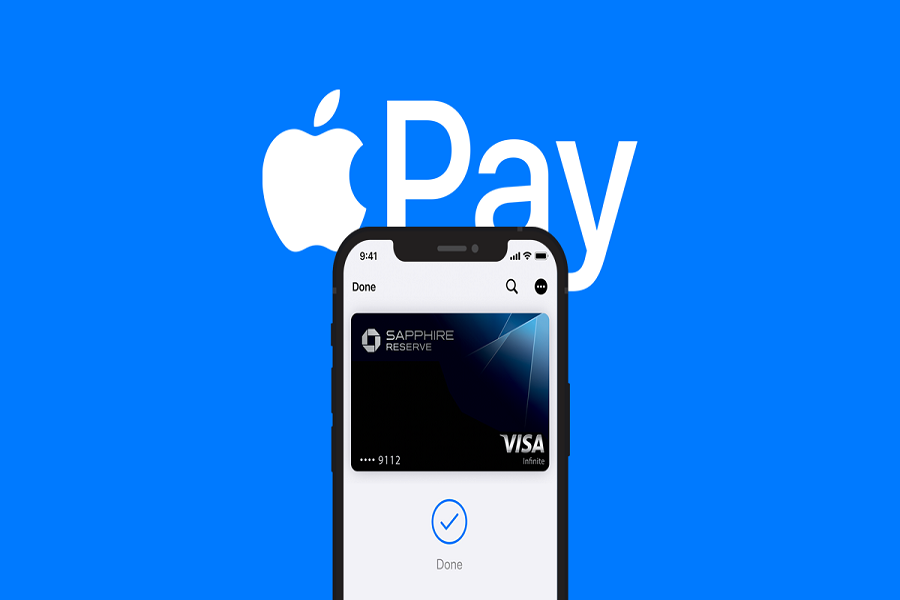
Apple Pay is a digital wallet service provided by Apple. It allows users to securely store their credit card information on their Apple devices, including iPhones, iPads, Macs, and Apple Watches. The stored data can then be used to make payments on demand at different merchants or service providers.
However, it’s crucial to understand that Apple Pay does not process transactions. It merely serves as a secure storage system for your card data. The actual processing of payments is handled by third-party payment providers.
How Does Apple Pay Work?
To understand how Apple Pay works, let’s walk through a typical transaction process using Apple Pay on a web page.
Step 1: Choose Apple Pay
When you’re shopping online and ready to check out, you may see the option to pay with Apple Pay. Remember, whether you choose to use Apple Pay, or Google Pay, or manually enter your card details, the payment process will look the same to the merchant on their back end. It will still process through the same third-party payment processor.
Step 2: Authenticate the Transaction
When you select Apple Pay, a custom user interface (UI) pops up, allowing you to choose your card, billing and shipping information, and the items you purchase. This is all done using the Apple Pay SDK or a third-party payment provider’s front-end system.
To authenticate the transaction, you’ll use your fingerprint or face ID. However, this authentication doesn’t run the payment. Instead, it authorizes the submission of your data to the merchant.
Step 3: Data Encryption and Submission
Once you’ve authenticated the transaction, the Apple Pay SDK returns a payment token to the merchant’s website. This token is a blob of encrypted data, ensuring that the merchant never sees the plaintext of your card number.
The merchant’s software then compiles all relevant details, including the Apple Pay token, and submits the sale to their payment provider.
Step 4: Decryption and Payment Processing
The payment provider uses a private key to decrypt the Apple Pay token, turning it into a card number, expiration date, and other metadata. The payment provider then sends all this data to the payment processor, who reaches out to your bank to approve or decline the transaction.
Step 5: Transaction Completion
Once the bank approves the transaction, a message is sent back through the processor to the payment provider and finally to the merchant’s API request. The merchant will then show you a receipt page, and you’ll likely receive an email receipt for the transaction.
Key Takeaways
It’s important to remember two key points about Apple Pay:
Apple doesn’t process the payment: Apple Pay is a simple way to autofill your data for the merchant. It doesn’t have anything to do with the actual payment processing.
Apple doesn’t decrypt your data: The Apple Pay tokens are encrypted with the payment provider’s key. Therefore, the payment provider is the only one who can decrypt it.
Apple Pay is a secure and convenient way to store and use your card data across multiple devices and merchants. However, it’s not involved in the actual processing of payments. Understanding this distinction can help users make more informed decisions about their payment options and better understand the security measures in place to protect their financial information.


