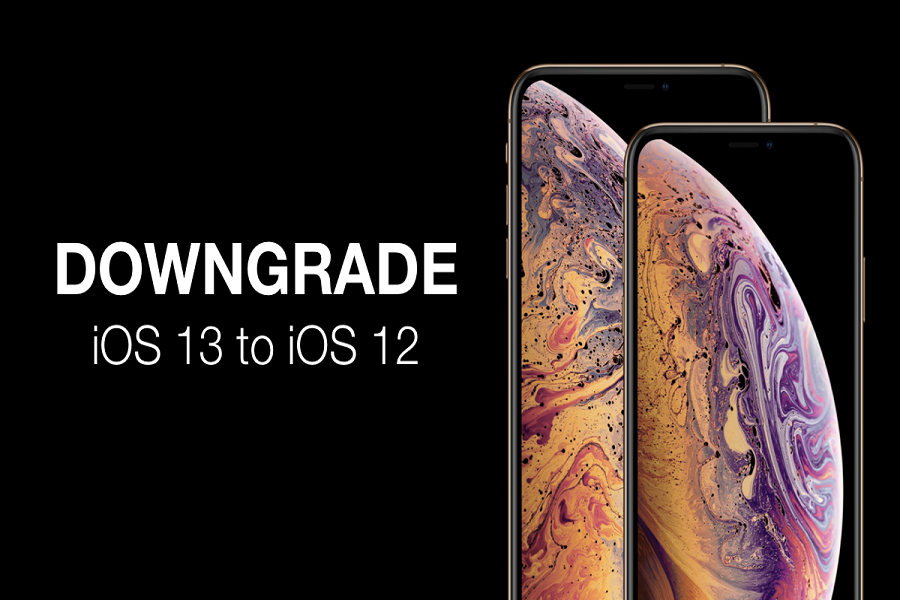
Just like me, if you have impatiently installed iOS 13 beta on your iPhone and encountering with some annoying bugs and issue, then you may want to downgrade from iOS 13 to iOS 12.3.1. I guessed right, yes? If so, then dealing with the annoying beta isn’t a smart idea to use the device as I have just uninstalled iOS 13 beta and reverted back to iOS 12. I suggest you should also remove iOS 13 beta and go back to iOS 12 (stable version).
Considering you have played enough with iOS 13 developer beta and looking for the way to go back to iOS 12 from iOS 13 beta, then you can go through the below process. But keep in mind that you have a complete backup of latest iOS 12 since there is no way to restore iOS 13 beta backup. If you have made you mind to downgrade from iOS 13 to iOS 12, then let’s check out how to do it!
How To Downgrade iPhone From iOS 13 Beta To iOS 12.3.1
Note: Once you revert back to the iOS 12 from iOS 13 beta, you are in stable version of iOS. And also, you still have many chances to test iOS 13 as Apple will release iOS 13 Public Beta in July with more stable version. So, without any worry, you can go ahead to the process of uninstalling iOS 13 beta and getting back to the iOS 12.
Step #1: First of all, download the iOS 12.3.1 IPSW file on you Mac or PC for your iPhone from below links:
- iPhone XS
- iPhone XS Max
- iPhone XR
- iPhone X
- iPhone 8 and iPhone 7
- iPhone 8 Plus and iPhone 7 Plus
- iPhone SE
- iPhone 6s
- iPhone 6s Plus
Step #2: Next, disable Find my iPhone on your iPhone by going to Settings →Tap your name at the top→ iCloud →Find My iPhone.
Step #3: Now you need to put your iPhone in DFU mode.
If you have an iPhone 8 or iPhone 7, read this guide for entering DFU mode, while iPhone X/XS/XR owners will have to follow these steps and older device users can follow these steps:
- Plug your device into your computer and turn off your device by holding the Power button and then sliding to power off.
- Next, press and hold the Power button for 3 seconds.
- Then begin holding the Home button without releasing the Power button for 10 seconds.
Step #4: Once you completed above step, then hold the Alt/Option key on your Mac and click the Restore iPhone option.
Step #5: Now point the window that opens to the iOS 12.3.1 IPSW file you downloaded in Step 1.
Step #6: Then click on the Restore and Update button to continue, and proceed with the on-screen instructions.
Step #7: Now iTunes will verify the package and start the installation process.
Your iPhone will reboot during the process. After the downgrade process is complete, your iPhone will boot into iOS 12.3.1. So, follow below steps:
- Free the power button and continue holding the home button until you get a popup from iTunes that it has detected your device is in Recovery mode. If you don’t see the popup, try the process of holding the buttons again.
- Click on the Ok button.
Step #8: That’s it!
So, that was so simple to remove iOS 13 and install iOS 12 again on iPhone. While using iOS 13 developer beta, I encountered some issue related to the App store. What about you? What types of glitches you are getting in iOS 13? Feel free discuss with us through comments!


