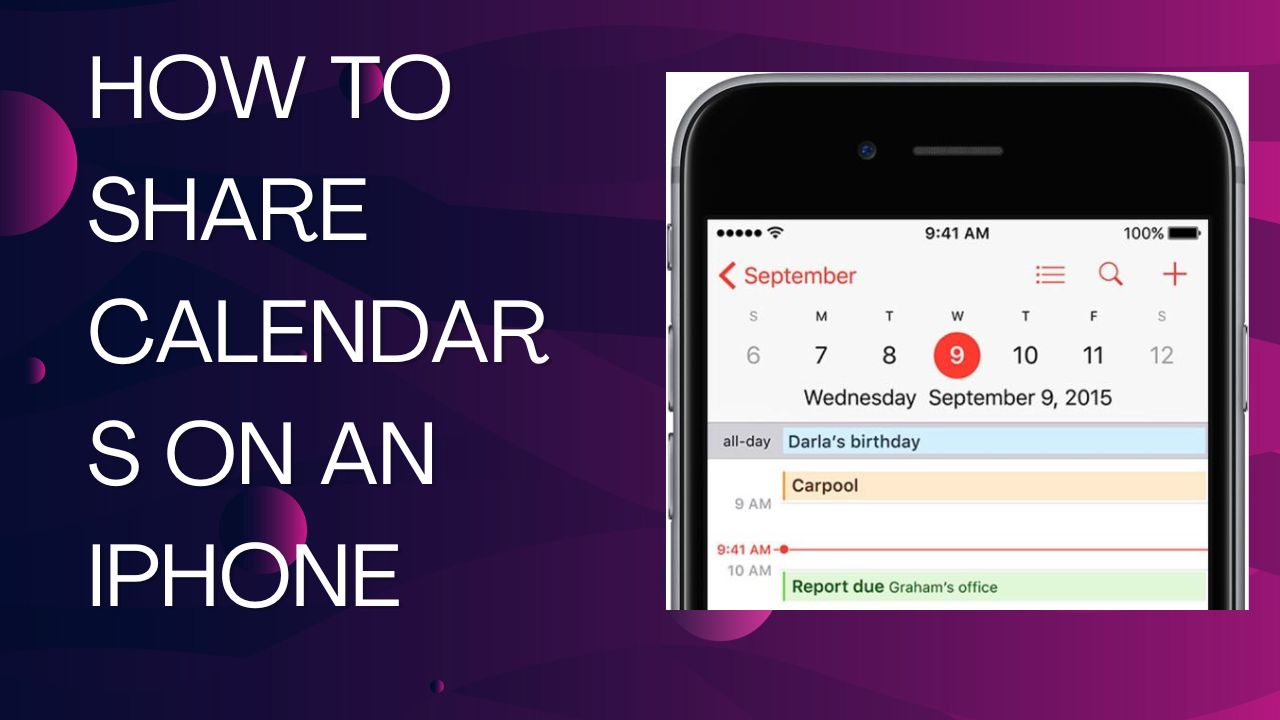
Sharing calendars on an iPhone is easy with the built-in Calendar app and iCloud syncing. By sharing a calendar, you can let others view and edit events on a specific calendar.
Whether you want to coordinate schedules with family members, share an events calendar with a team, or make your calendar public, the iPhone Calendar app has you covered. Follow the steps below to share your calendar events and schedules from your iPhone.
How To Prepare For Sharing an iPhone Calendar
Before sharing a calendar, you need to decide which calendar you want to share. The Calendar app on iPhone gives you access to different calendar types:
- iCloud Calendar – This is synced across your Apple devices through your iCloud account. Perfect for personal events.
- On My iPhone – A personal calendar just for your iPhone that does not sync.
- Gmail/Exchange/Outlook – Calendars synced from these external accounts.
- Subscription Calendars – Read-only calendars like holidays or sports team schedules.
In most cases, you’ll want to share your iCloud Calendar to make sure it syncs correctly. Keep in mind the person you’re sharing with needs an iCloud account too for full access.
Other considerations before you share:
- Make sure the calendar you want to share contains only events you want others to see.
- Decide if you want to give guests the ability to edit events or just view.
- Check that any contacts you want to share with have an email linked to an iCloud account.
Once you’ve decided which calendar and who to share with, you’re ready to start sharing.
How to Share an iPhone Calendar with Individuals
Open the Calendar app and tap “Calendars” at the bottom.
- Tap the “i” next to the iCloud calendar name.
- Select “Add Person” at the top.
- Enter the complete email address or name of the contact you want to share with.
- Toggle “Allow Editing” on or off depending on your preference.
- Tap “Add” followed by “Done” to finish adding the person.
The steps above allow you to share your iCloud calendar with both read and write or read-only access. Contacts you share with receive an email invite to access the calendar from their iCloud account.
You can repeat the steps to add multiple people to the same shared calendar.
How To Share iPhone Calendar to Public
If you want to share your calendar openly with anyone, you can make your iCloud calendar public:
- Follow steps 1-2 above to access the iCloud calendar details.
- Toggle on the “Public Calendar” option.
- Tap “Share Link” to copy the public calendar link.
- Paste this link on your website or send to those you want to access the calendar.
With a public calendar, anyone can view your events by visiting the link—no iCloud account needed. But only you can make edits. It’s great for sharing an events calendar!
How To Share Other Calendar Types
While iCloud calendars are best for sharing on iPhone, you can also share calendars from Gmail, Exchange, Outlook, Yahoo, and more.
The main limitation is that the person you share with needs to use the same calendar service and account. For example, sharing your Google calendar only works with others who have Google accounts.
The steps are the same: access calendar details and use the add person option. The recipient then sees the shared calendar in their compatible calendar app.
How To Sync Shared Calendars
Once calendars are shared, they need to sync across devices for everyone to see updates.
On iPhone, open Calendar settings and enable “Show in App” under accounts with shared calendars to view them in your calendar list.
Events added or edited by those you’re sharing with also appear after syncing. Make sure to regularly sync by opening the Calendar app while connected to the internet.
Conclusion
Sharing calendars on an iPhone is simple with a few taps in the Calendar app. Use iCloud calendars to easily share events and schedules with family, friends, teams, or the public.
Keeping shared calendars and devices in sync ensures everyone has an up-to-date view of the events. With iOS calendar sharing, coordinating schedules is smooth and hassle-free. I hope you liked the above guide and enjoy the article. If you need more help for the same, don’t hesitate to drop comment below.


