As an avid iPhone user, I’m always keen to try out the latest features that come with iOS updates. One capability I’ve found extremely useful is voice isolation for calls on my iPhone XS. With this enabled, my voice comes through loud and clear even when I’m in a noisy environment. So here we have going to show you how to turn on voice isolation on iPhone.
What Does Voice Isolation Do?
Voice isolation uses the multiple microphones on newer iPhones to apply machine learning and filter out background noise during calls. It emphasizes and prioritizes just my voice, reducing distracting ambient sounds around me. This makes it much easier for the person on the other end of the call to focus on what I’m saying without disruptions.
The key benefit is reducing unwanted noise from my side of the conversation. This could be particularly useful if I need to take a call while commuting, in a busy office, at a concert or event, or any loud environment. The feature won’t affect what I hear though – it only influences what the other caller hears from me.
Where Does Voice Isolation Work?
As of iOS 16.4, voice isolation works for regular phone calls placed over a cellular network in addition to FaceTime audio/video calls. However, it’s app-specific, so I need to enable it during a call for it to take effect, and not all apps support the capability yet.
The process differs slightly depending on whether I want to use voice isolation for a FaceTime call or regular call. I’ll cover both methods next.
How To Use Voice Isolation on iPhone
Here is the step-by-step process I follow to leverage voice isolation:
For FaceTime Calls
- Initiate a FaceTime video or audio call with someone.
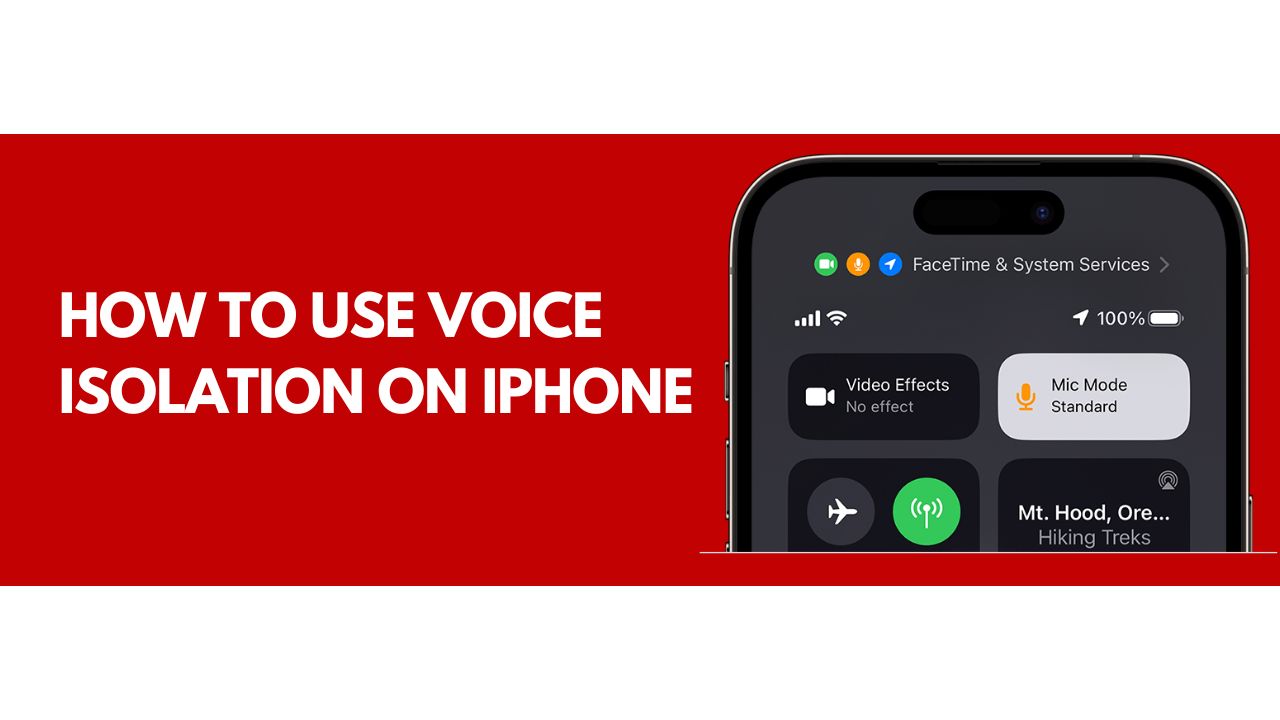
- Once connected, swipe down from the top-right to open Control Center during the call.
- Tap the ‘Mic Mode’ icon.
- Select the ‘Voice Isolation’ option.
For Regular Calls
- Place a call to someone normally over the cellular network.
- Similarly, swipe down once connected to open Control Center.
- Tap the ‘Mic Mode’ control.
- Choose ‘Voice Isolation’.
And that’s it! The change is instantaneous. This setting persists just for my current call in that app. Once I end the call, it reverts back to the default microphone mode. So I need to re-enable voice isolation for each new call if I want ongoing background noise suppression.
Final Words
I hope this detailed overview gives you the confidence to start enriching your iPhone calls with voice isolation. Feel free to contact me if you have any other questions! This is easily one of my favorite iOS introductions in recent years thanks to its call quality improvements. Go ahead, give it a try during your next important phone conversation!


