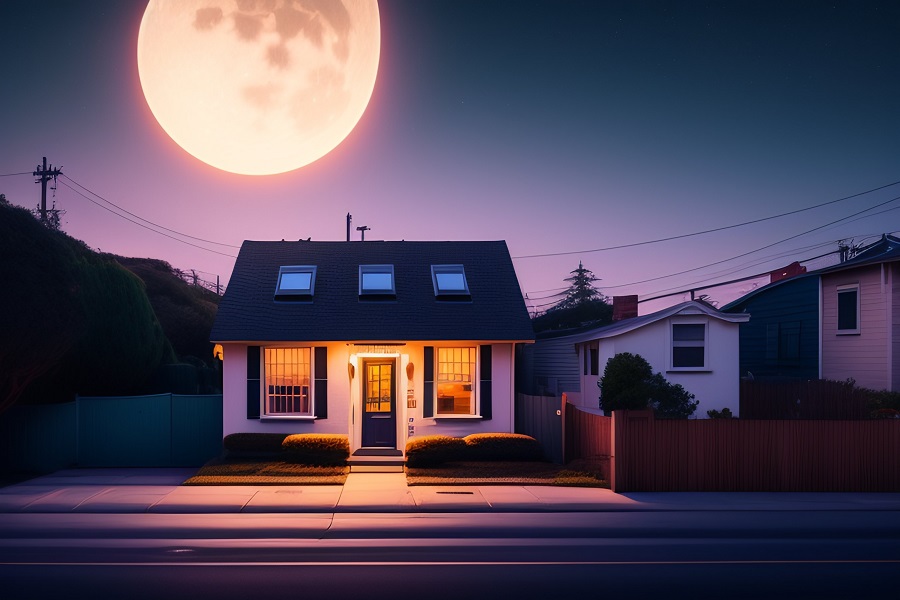
Capturing the moon’s beauty with your iPhone 13 Pro Max can be a rewarding experience. The iPhone 13 Pro Max offers advanced camera tools that make capturing detailed photos of the moon possible right from your smartphone. With the right settings and techniques, you can take stunning lunar shots using the iPhone 13 Pro Max’s impressive triple lens system.
If you have an iPhone 13 Pro Max and are planning to photograph tonight’s full moon from your beloved iPhone, you have reached the best place since we have discussed the step-by-step process to capture the moon with the iPhone 13 Pro Max.
Steps To Photograph the Moon with the iPhone 13 Pro Max
Prepare Your Gear
To set yourself up for success, gather the appropriate gear:
- Tripod: Using a tripod or stand keeps your phone completely still for crisp shots. Avoid handheld shots.
- Lens clip: A lens clip attaches to your iPhone for magnification well beyond the native telephoto lens. Look for a 10-12x clip-on lens specifically made for moon photography.
- Remote shutter: An optional Bluetooth remote lets you snap photos without touching the iPhone, preventing vibration.
The iPhone 13 Pro Max has excellent optical image stabilization, but stability is still key for lunar photography.
Pick the Ideal Location
Finding the right moon photography spot takes some research:
- Moonrise/set: Plan for when the moon is low on the horizon for a larger apparent size. Use apps to determine moonrise/set times.
- Clear skies: Check cloud cover and weather reports to ensure an unobstructed view.
- Low light pollution: Areas away from city lights produce clearer night skies for moon pics. Use a dark sky finder app or map to pick your location.
- Elevated viewpoints: Photograph from hilltops or high floors for better views free from obstructions like buildings and trees.
Adjust Your Camera Settings
Dialing in the right settings is crucial to capture moon details clearly:
- Focus: Tap the moon on the screen to focus, then lock focus if available.
- Exposure: Given the dark conditions, lower the exposure compensation to around -1 to avoid overexposing.
- ISO: Use the lowest possible ISO (100 or 200) to minimize noise and graininess.
- Shutter speed: Aim for 1/ISO as a baseline, such as 1/100s for ISO 100. Faster shutters may be needed in lower light.
- Aperture: Optimal sharpness is achieved at apertures between f/11 and f/16.
- RAW format: Capture RAW images instead of JPEGs for more editing flexibility. The iPhone 13 Pro Max has RAW capability.
Capture and Enhance Photos
Follow these tips for taking and processing your moon shots:
- Bracket exposures by taking multiple photos at different settings. This provides options later when editing.
- Snap pictures using different lenses and any zoom capabilities. Combine wide landscape shots with close telephoto shots.
- Use Apple’s editing tools or third-party apps to touch up photos. Adjust brightness, shadows, highlights, contrast, saturation and sharpness judiciously.
- Carefully crop your pics and reframe using the rule of thirds for most visually pleasing results.
Final Closer
With preparation and practice using manual camera controls, your iPhone 13 Pro Max can capture breathtaking views of the moon for stunning photography. I hope these steps and settings helped you to capture the best moon shot from your iPhone 13 Pro Max. If you know of any other best tips and tricks to photograph the moon with iPhone 13 Pro Max, don’t bother to share them with us in the comment box.


