Although we live in a predominantly digital world where every document is processed and shared digitally, there is still rising demand for scanned documents. It doesn’t matter if you scan and produce a physical copy of the document or you forward it digitally, a scanner is a quintessential need in our lives.
So, while we are on the topic of scanning documents and using scanners, did you know that you can scan, save and share documents using Apple’s Notes app?
This article will walk you through all the details you potentially need regarding scanning a picture or document on an iPhone using the Notes app.
What do you need to Scan Documents or Images on iPhone?
Before we share the steps involved in scanning the documents and images via an iPhone, let us walk you through the requirements first.
Here’s what you need:
- An iPhone that runs iOS 11 and later
- Images or documents you wish to scan
Overall, it should take you somewhere between 1-2 minutes to sort out the entire process, so keep that into consideration.
How to Scan a Document or Image via iPhone Notes?
Now that you have the basics sorted, let us walk you through the steps you need to follow to be able to scan a document or an image via the Notes app on your iPhone.
Here’s what you need to do:
- Unlock your iPhone and then open the Notes app.
- Once on the homepage of the app, create a New Note
- Navigate to the bottom of the screen where you find the “Document Scanning” feature. It should resemble a camera.
- From there, click on “Scan Documents” and this will open the camera and start processing.
- Place the image or the document you wish to scan underneath and point your iPhone’s camera over it to capture the document.
- What’s great about the Notes app scanning feature is the automated capture, where it will only scan the document and eliminate the background it is placed on. The only thing we’d recommend you do is to lay the document or image on a flat surface.
- If you want to manually scan the document, there is an option for manual scanning too. We won’t recommend that unless necessary.
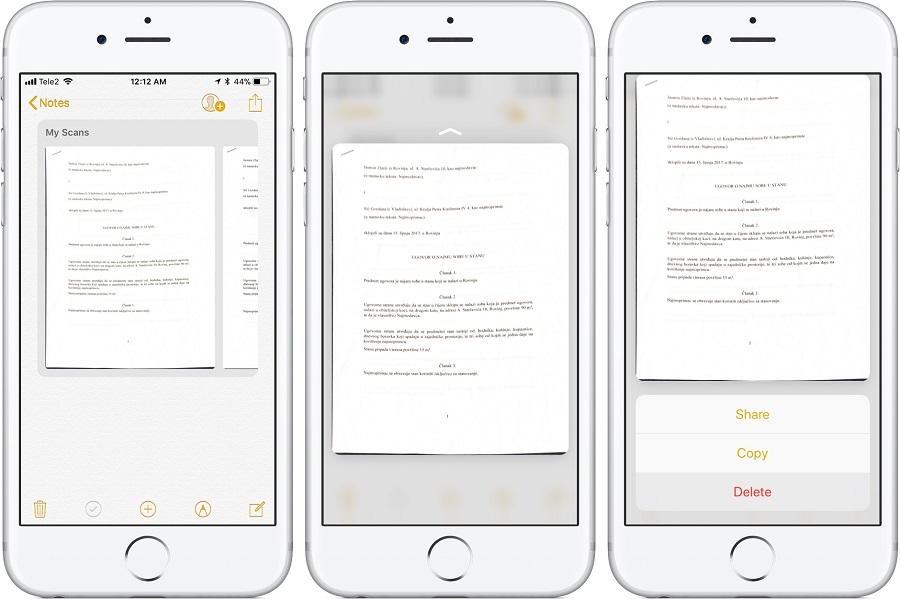
- Once you are done scanning the image or document, the next step is to save the scanned doc to your Notes app. The Save button is present in the bottom-right corner.
- From there, you can save the Note, and then you have the scanned image saved to your Notes app on your iPhone.
It might seem a little lengthy and complicated. However, once you master the process, it shouldn’t take you more than a minute. Once the scanned image or document is saved, you can then export or share it with others via different sharing options.
Conclusion
It is simple, free, and straightforward to scan images and documents via the Notes app on your iPhone. However, we understand that not everyone is aware of the methods or the nuances. We hope this article gives you all the details you are looking for.


