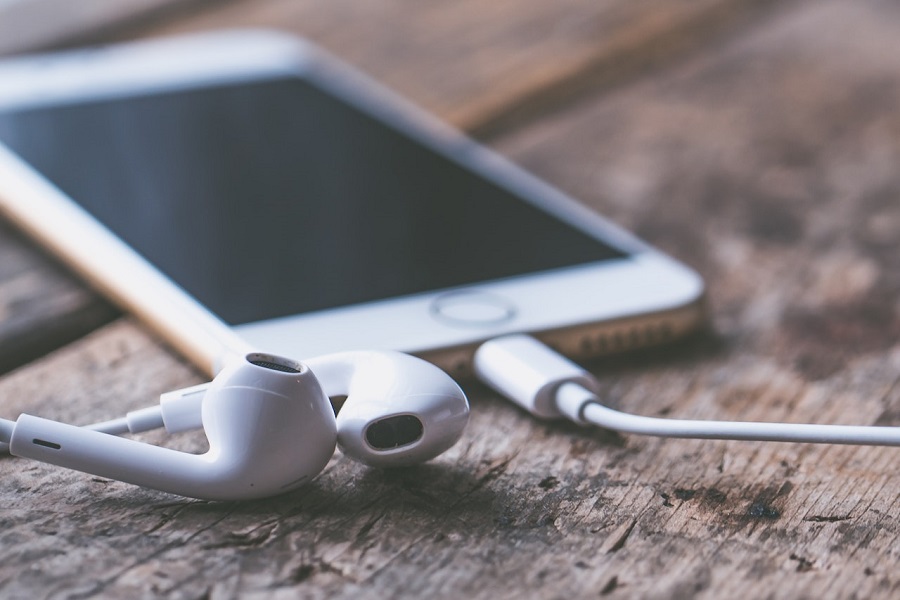
There are many differences when it comes to iOS and Android. One of them is getting songs on your device. If you have android then the process of downloading songs becomes very simple. You can download any song without any hurdle. But when it comes to iOS then you might face some problems. Apple doesn’t let you download songs from any web browser due to its privacy and security policy. Instead, iPhone has an app called Apple music where you can subscribe monthly to listen to music and download it from your library. Sure, there are many apps for songs like Spotify or Amazon Music which lets you listen to songs and download it. But it doesn’t let you download music on your device’s library, the downloaded songs remain in that application.
For those who don’t want to spend money on any subscription to download songs on your iPhone’s library, then there are other ways you can opt for. In this article, I am going to show you some methods through which you can download songs on your iPhone without paying any subscription fee.
How to download songs on iPhone
Method 1: Using iTunes
To download music to your iPhone using iTunes, follow these steps:
Make sure you have the most recent version of iTunes installed on your computer.
- If the music you want to download to your iPhone isn’t already in your iTunes library then, go to File > Add File to Library to add it.
- Via USB cable connect iPhone you your computer and launch iTunes.
- Select the Music option from the device icon.
- Select Sync Music.
- To proceed, click Remove and Sync in the warning window.
- Choose whether to add your iPhone’s entire music library or selected playlists, artists, albums, and genres.
- If you select the latter option, you must manually select the playlists, artists, and albums.
- Select Apply > Sync to begin transferring music to your iPhone via iTunes.
- Once completed on your iPhone, go to Music > Library > Songs to listen to the music.
Method 2: Using Wi- Fi
You can also use Wi-Fi to download music to your iPhone from iTunes:
- Configure your computer for Wi- Fi syncing.
- Connect your iPhone to your computer
- Open iTunes on your computer.
- Select Summary from the device icon.
- Check Sync with this iPhone over Wi-Fi.
- Then click on Apply button in the Options section.
- Check that iTunes is still running and that your iPhone is plugged in.
- On the iPhone, enable iTunes Wi-Fi sync.
- Go to Settings > General > iTunes Wi-Fi Sync to get started.
- To begin adding music to your iPhone, click Sync Now.
- Wi-Fi syncing will, of course, sync other files in iTunes to your iOS device as well.
Method 3: Using iCloud Drive
- Open Finder on your Mac
- Go to iCloud Drive.
- Choose File > New Folder. This will make a new untitled folder.
- You can name the new folder as Music/ Songs.
- Navigate to the Music/ Songs folder.
- Find the tracks you want to listen to on your iPhone from Mac and drag them into the Music folder.
- Your music will be uploaded to iCloud Drive automatically.
- Your music will be available via iCloud on your iPhone once your tracks have been uploaded.
- Launch the Files app on your iPhone.
- Select iCloud Drive.
- To open the Music folder, navigate to it and tap it.
- You’ll see the same tracks you did when you uploaded them from your Mac.
- Tap the track you want to listen to, and it will be downloaded to your device automatically.
- Tap any track to listen to it in iCloud Drive.
- Your music has been downloaded to your iPhone.
That’s it folks! These are the 3 simple way through which you can download songs on your iPhone. Tell us which method you used and which was more convenient.
Until next time, with another topic. Till then, Toodles.


