Are you getting late? How far are you? How much more time you
will take? Where the hell are you? You may have observed these types of
messages pops up on your mobile screen if you have a party with friends or
meeting with some time. Instead of sending those replies of your status, now
you can directly share Apple Maps ETA to contact (friends or family) on iOS
13.1 on your iPhone.
Yes, that’s right! Whether you want to let your friend know
your live location or stay safe during the trip alone, you can now simply set
share ETA to contact Apple Maps (manually or automatically). So the great
things are you don’t have to keep them sharing your location in every turn as
the Apple Maps will do your task if you are getting late or not as per the EAT
(estimated time of arrival). If you want to know how to send ETA to contacts
from Apple Maps on iPhone then here are a few steps you should follow!
Note: Before heading to the process, make
sure that you have installed iOS 13.1 on your device.
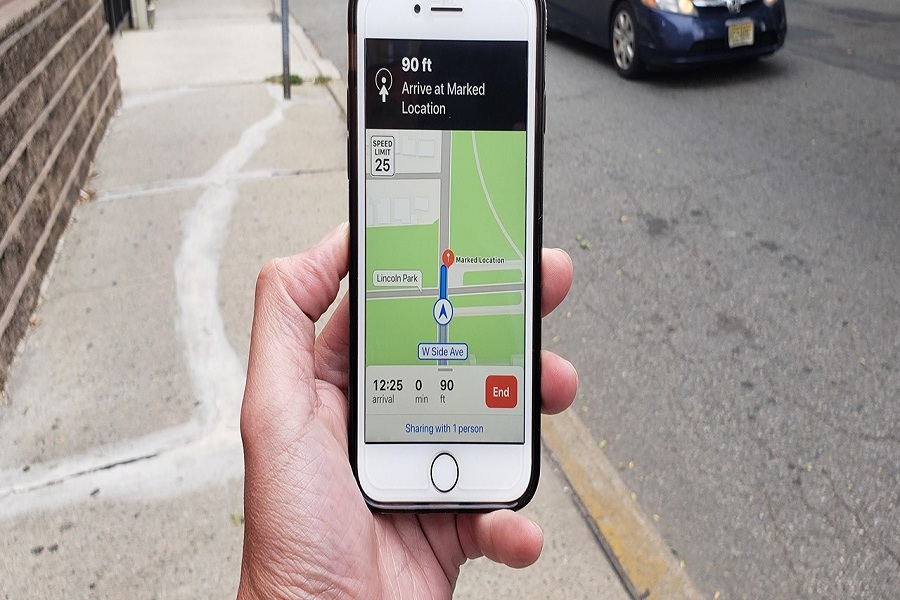
Step #1: Put your destination and start the
navigation as you are walking or driving.
Step #2: Once you start the navigation
process, you will see the new “Share ETA” option at the bottom. So just tap on
it.
You can also get Share ETA option by swiping up from the
bottom of the screen once the navigation began. You can also get more Apple
Maps options.
Step #3: After tapping on Share ETA, you will get the option to share it with any of your contacts with some recent contacts. So you can select the contact with you want to share your ETA by selecting recent or more from Contacts option.
There is also the option to share ETA contact on Apple Maps
automatically if you often travel to the same place and want to share ETA to
your regular colleagues or friends. Sending ETA every day would get annoying
for you. So, automatically sharing ETA from Apple Maps will be bother-free for
you. Let’s see the guide.
Step #1: Before starting the navigation,
open the Apple Maps and swipe up from the bottom.
Step #2: Next, you can see the “Favorites”
tab, and you need to hit the “See all” option.
Step #3: Now tap on (i) icon next to the
Saved address you would want to share, and you will get the Detail screen.
Step #4: Select “Add Person” under the
“Share ETA” section and choose contacts with your wish to share ETA every time
automatically on your iPhone.
Step #5: There is a no limit to share ETA to
contact; you can send it to as many you want. You can delete them by tapping on
the delete option next to their name.
On the other side, the receiver (iPhone user) will get a
message with the ETA and destination which can be opened on the Apple Map to
track the sender. On the other hand, the Android users will get the text
message with the information about the location and ETA, but they can’t open it
on Google Maps. Well, there is also End option in case if you want to stop
sharing ETA from Apple Maps.
That’s all!


