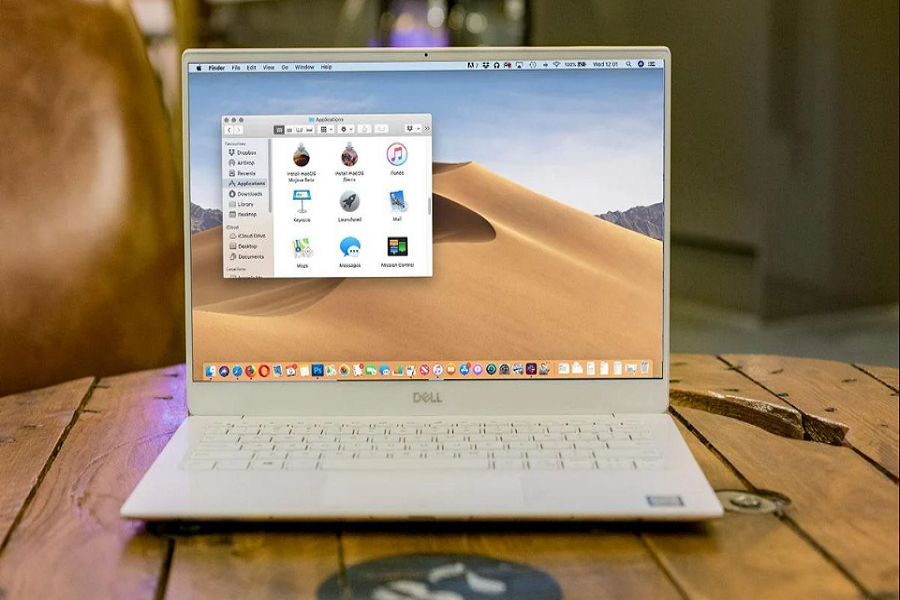
Installing macOS Monterey on Windows 10 PC is challenging, but using macOS on Windows OS is fun. If you are a huge tech geek, you would have also wondered to rum macOS on Windows system. As macOS Monterey is the newest operating system with next-gen features, it would be fun to download macOS on Windows.
Those who cannot spend a hefty amount on MacBook can use this method to run macOS on Windows computers. This article will show you two different ways to install macOS Monterey on Windows 10 PC. Once you go through this guide, you will have Mac operating system on your Windows devices and test any app on it without needing a Mac.
How To Download and Install macOS Monterey On Windows PC
Note: Make sure that your Windows PC RAM is minimum 4GB.
Method 1: Install macOS Monterey On Windows 10 Using VirtualBox App
Firstly, you will need to complete the set up for VirtualBox on your Windows PC and then install macOS Monterey on Windows PC with VirtualBox.
- Download the VirtualBox on your Windows PC.
- You need to download the Extension Pack.
- Once the download completed, navigate to VirtualBox EXE file and double-click to initiate the installation process.
- After installation done, open the VirtualBox on your PC.
- Click on the New button to start the new entry.
- Name it to macOS Monterey and click on Expert Mode option.
- Now you will see the Create Virtual Machine window, enter the name macOS Monterey.
- Choose Machine Folder path, Type and Version.
- In the Hard Disk section, choose Create a virtual hard disk now.
- After selection, click on Create.
- Let’s start the importing macOS Monterey DMG File. To do that, you should have macOS 12 DMG file on Windows PC, download from the web.
- Keep the Memory size at 120GB. Search for the Hard Disk Type section and select VHD (Virtual Hard Drive).
- Choose Dynamically Allotted in the Storage section and click on Create.
- Go to the new VirtualBox that you have created and click on the Settings icon.Look for Storage section, choose Empty and click on CD icon and choose Choose/Create a Virtual Optical Disk from the dropdown menu.
- Next, add the macOS Monterey DMG file in the VirtualBox and then click on the Optical Drive dropdown and select SATA Port 0 for macOS 12.
- Click OK and close the VirtualBox.
- Again open VirtualBox, choose macOS Montereyand click on Start.
- Wait for the Apple Logo like original Mac PC and go through the on screen instruction.
- After that, select Disk Utility, and hit the Continue button. Now wipe the VirtualBox hard drive to APFS with the GUID scheme, and choose Erase and later close the Disk Utility window.
- Now select the Install macOS option and click on Continue and then Agree to Terms & Conditions.
- Wait for some time to finish the macOS Monterey installation and you will see the macOS Monterey setup screen on the next screen.
- Go through the on screen process and then set up Accessibility part, Data and Privacy section, on the Mac, keep on clicking Continue, and proceed to the next page. Note: You can also Migrate the data with the help of Migration Assistant window or skip it.
- Now you need to enter the Apple ID and Password. To skip, select Setup Later and move on to the next page.
- Agree to Terms & Conditions and create a new computer account.
- At last, choose the theme and complete the Setup.
Method 2: Use VMWare to Install macOS MontereyOn Windows 10
- Firstly, you need to download and install VMWare Workstation on your Windows Computer. Double click on the downloaded file.
- Select Typical and Nexr on the New Virtual Machine Wizard window.
- Choose Workstation 15.x from the dropdown section on the Hardwar Compatibility section.
- Next, you need to select ‘I will install the operating system later’ and then choose Apple MacOS X when asked to choose Guest Operating System.
- During the processor number setting, choose 3 or 4 and set the Memory to 4GB.
- Click on Create a new virtual disk and set the size to 100GB in the Disk section.
- You need to choose CD/DVD option from the left panel and brow the file and import the macOS 12 installer file (DMG) and click OK.
- Open the VMX folder and look for the VMX file using Notepad. You need to add the (smc.version = “0”) code in that Notepad file and then Save it.
- After that, open the VMWare Workstation, go to Disk Utility section, and erase the Virtual Drive like the first method.
- Now go with the above method to complete the macOS Monterey installation process.
The Conclusion
In simple words, we can say that VirtualBox and VMWare are both the best mac emulators for Windows PCs to run macOS on Windows devices with ease. Moreover, these both are free open source softwares to get mac on Windows. I hope you enjoyed the guide and started using macOS on Windows PC. Need more help? You can ask us through the comment box.


